In this article
When you manage multiple active projects, it can be difficult to quickly identify which ones need attention, which ones are progressing as expected, and which ones are blocked or paused. Instead of reviewing every task, due date, and status update manually, you can categorize projects into focus areas that make them easier to track and review.
For example, you can create a project field called Project Focus and use values such as High Priority, Needs Review, Blocked, Normal, or On Hold. Once projects are categorized, you can filter, group, and view them from the Projects page based on their current focus area.
This gives teams a simple way to organize project attention across any review cadence, whether that is weekly, fortnightly, monthly, or based on internal planning cycles.
When to Use
Use this setup when your team wants to:
- Identify projects that need the most attention.
- Categorize projects based on priority, urgency, or review status.
- Separate projects that are progressing normally from those that are blocked or on hold.
- Create a structured project view for planning or leadership reviews.
- Avoid scanning through a long list of tasks and due dates to decide what needs focus.
- Keep project prioritization visible inside Rocketlane instead of managing it in a spreadsheet.
How It Works
Create a custom project field that represents how each project should be categorized.
For example, you can create a field called Project Focus with values such as:
- High Priority
- Needs Review
- Blocked
- Normal
- On Hold
After this field is added, update it on projects based on their current focus category. On the Projects page, you can then use the field to:
- Filter projects by a specific category.
- Group projects by focus area.
- Add the field as a visible column.
- Save the setup as a reusable project view.
This helps your team move from a long project list to a more organized view of where attention is needed.
Step 1: Create a Project Focus Field
To create the project field:
- Go to Settings.
- Select Project Fields.
- Click New Field.
- Enter a field name.
Example: Project Focus (You can also use names such as Priority, Focus Area, Review Category, Project Tag) - Select Single Choice as the field type.
- Add the values your team wants to use.
Example values:- High Priority
- Needs Review
- Blocked
- Normal
- On Hold
- Select the section where this field should appear.
- Add a description, if required.
Example: “Use this field to categorize projects based on the level of attention or review they need.” - Click Save.
Step 2: Categorize Projects
After the field is created, update the field value on the relevant projects.
For example:
Use the category that best represents the current state of the project. These values can be updated anytime as priorities change.
Step 3: Filter Projects by Focus Area
Use filters when you want to view projects in a specific category.
For example, you may want to filter the Projects page to show only projects marked High Priority, Blocked, or Needs Review.
To filter projects:
- Go to the Projects page.
- Click Filter.
- Add a filter for the Project Focus field.
- Select the category you want to view.
Example: High Priority - Apply the filter.
The Projects page now shows only projects that match the selected focus category.
Step 4: Group Projects by Focus Area
Use grouping when you want to see all projects organized by category.
To group projects:
- Go to the Projects page.
- Open the Group by option.
- Select the Project Focus field.
Rocketlane groups projects under each focus value.
For example, your view can be grouped as:
- High Priority
- Needs Review
- Blocked
- Normal
- On Hold
This is useful when you want to review projects by attention level instead of scanning one flat list.
Step 5: Add Project Focus as a Column
Add the Project Focus field as a column so the category is visible at a glance.
To customize columns:
- Go to the Projects page.
- Click Edit Columns or Customize Columns.
- Select the Project Focus field.
- Reorder the column if required.
- Save the column setup.
After this, each project row shows its focus category along with other project details such as owner, status, start date, due date, or progress.
Step 6: Save a Project Focus View
After applying the filter, grouping, and columns, save the setup as a view.
To save the view:
- Apply the required filter or grouping.
Example: Group by Project Focus. - Add the Project Focus column.
- Click Save view as.
- Enter a view name.
Example: Project Focus View
Other examples:- Priority Projects
- Project Review View
- Attention Required
- Focus Area View
- Choose whether the view should be private or shared.
- Click Save.
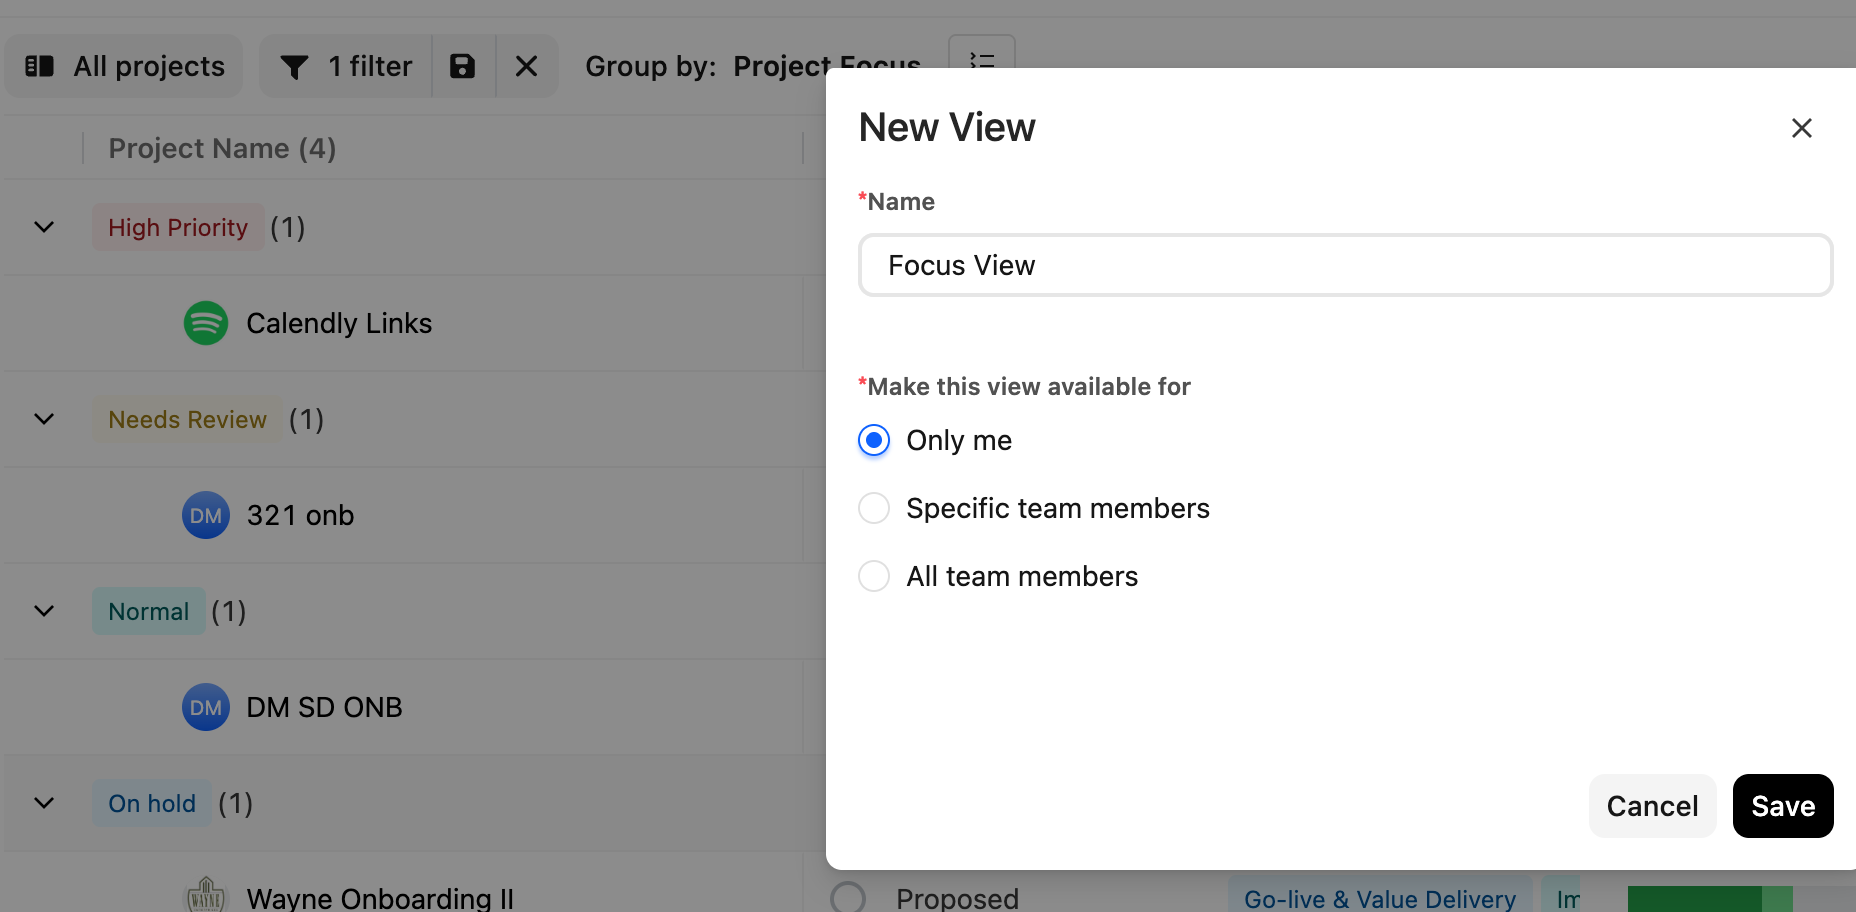
Use a shared view when the same categorized project list should be available to managers, delivery teams, or leadership.
Recommended Setup
You can adjust the values based on how your team thinks about project focus. For example, some teams may prefer values such as Critical, Watchlist, On Track, Paused, or Escalated.
Example Review Flow
Here is one way to use the categorized view:
- Open the saved Project Focus View.
- Review projects grouped under High Priority.
- Move to Blocked projects and identify next steps.
- Review Needs Review projects to decide whether they should move into another category.
- Scan Normal projects to confirm there are no major changes.
- Check On Hold projects if their status needs to change.
- Update the Project Focus field as project priorities shift.
This keeps project review focused on attention areas instead of requiring the team to manually inspect every project.