In this article
The Rocketlane HubSpot integration allows you to automatically create projects and sync data seamlessly between HubSpot and Rocketlane.
HubSpot is a CRM platform with all the software, integrations, and resources you need to connect marketing, sales, content management, and customer service. With HubSpot Workflows, you can use all the client data in HubSpot CRM to define automated processes. This integration enables you to seamlessly hand off work between teams - for example, when deals or tickets close in HubSpot, you can trigger automated project creation in Rocketlane.
Integrating HubSpot with Rocketlane
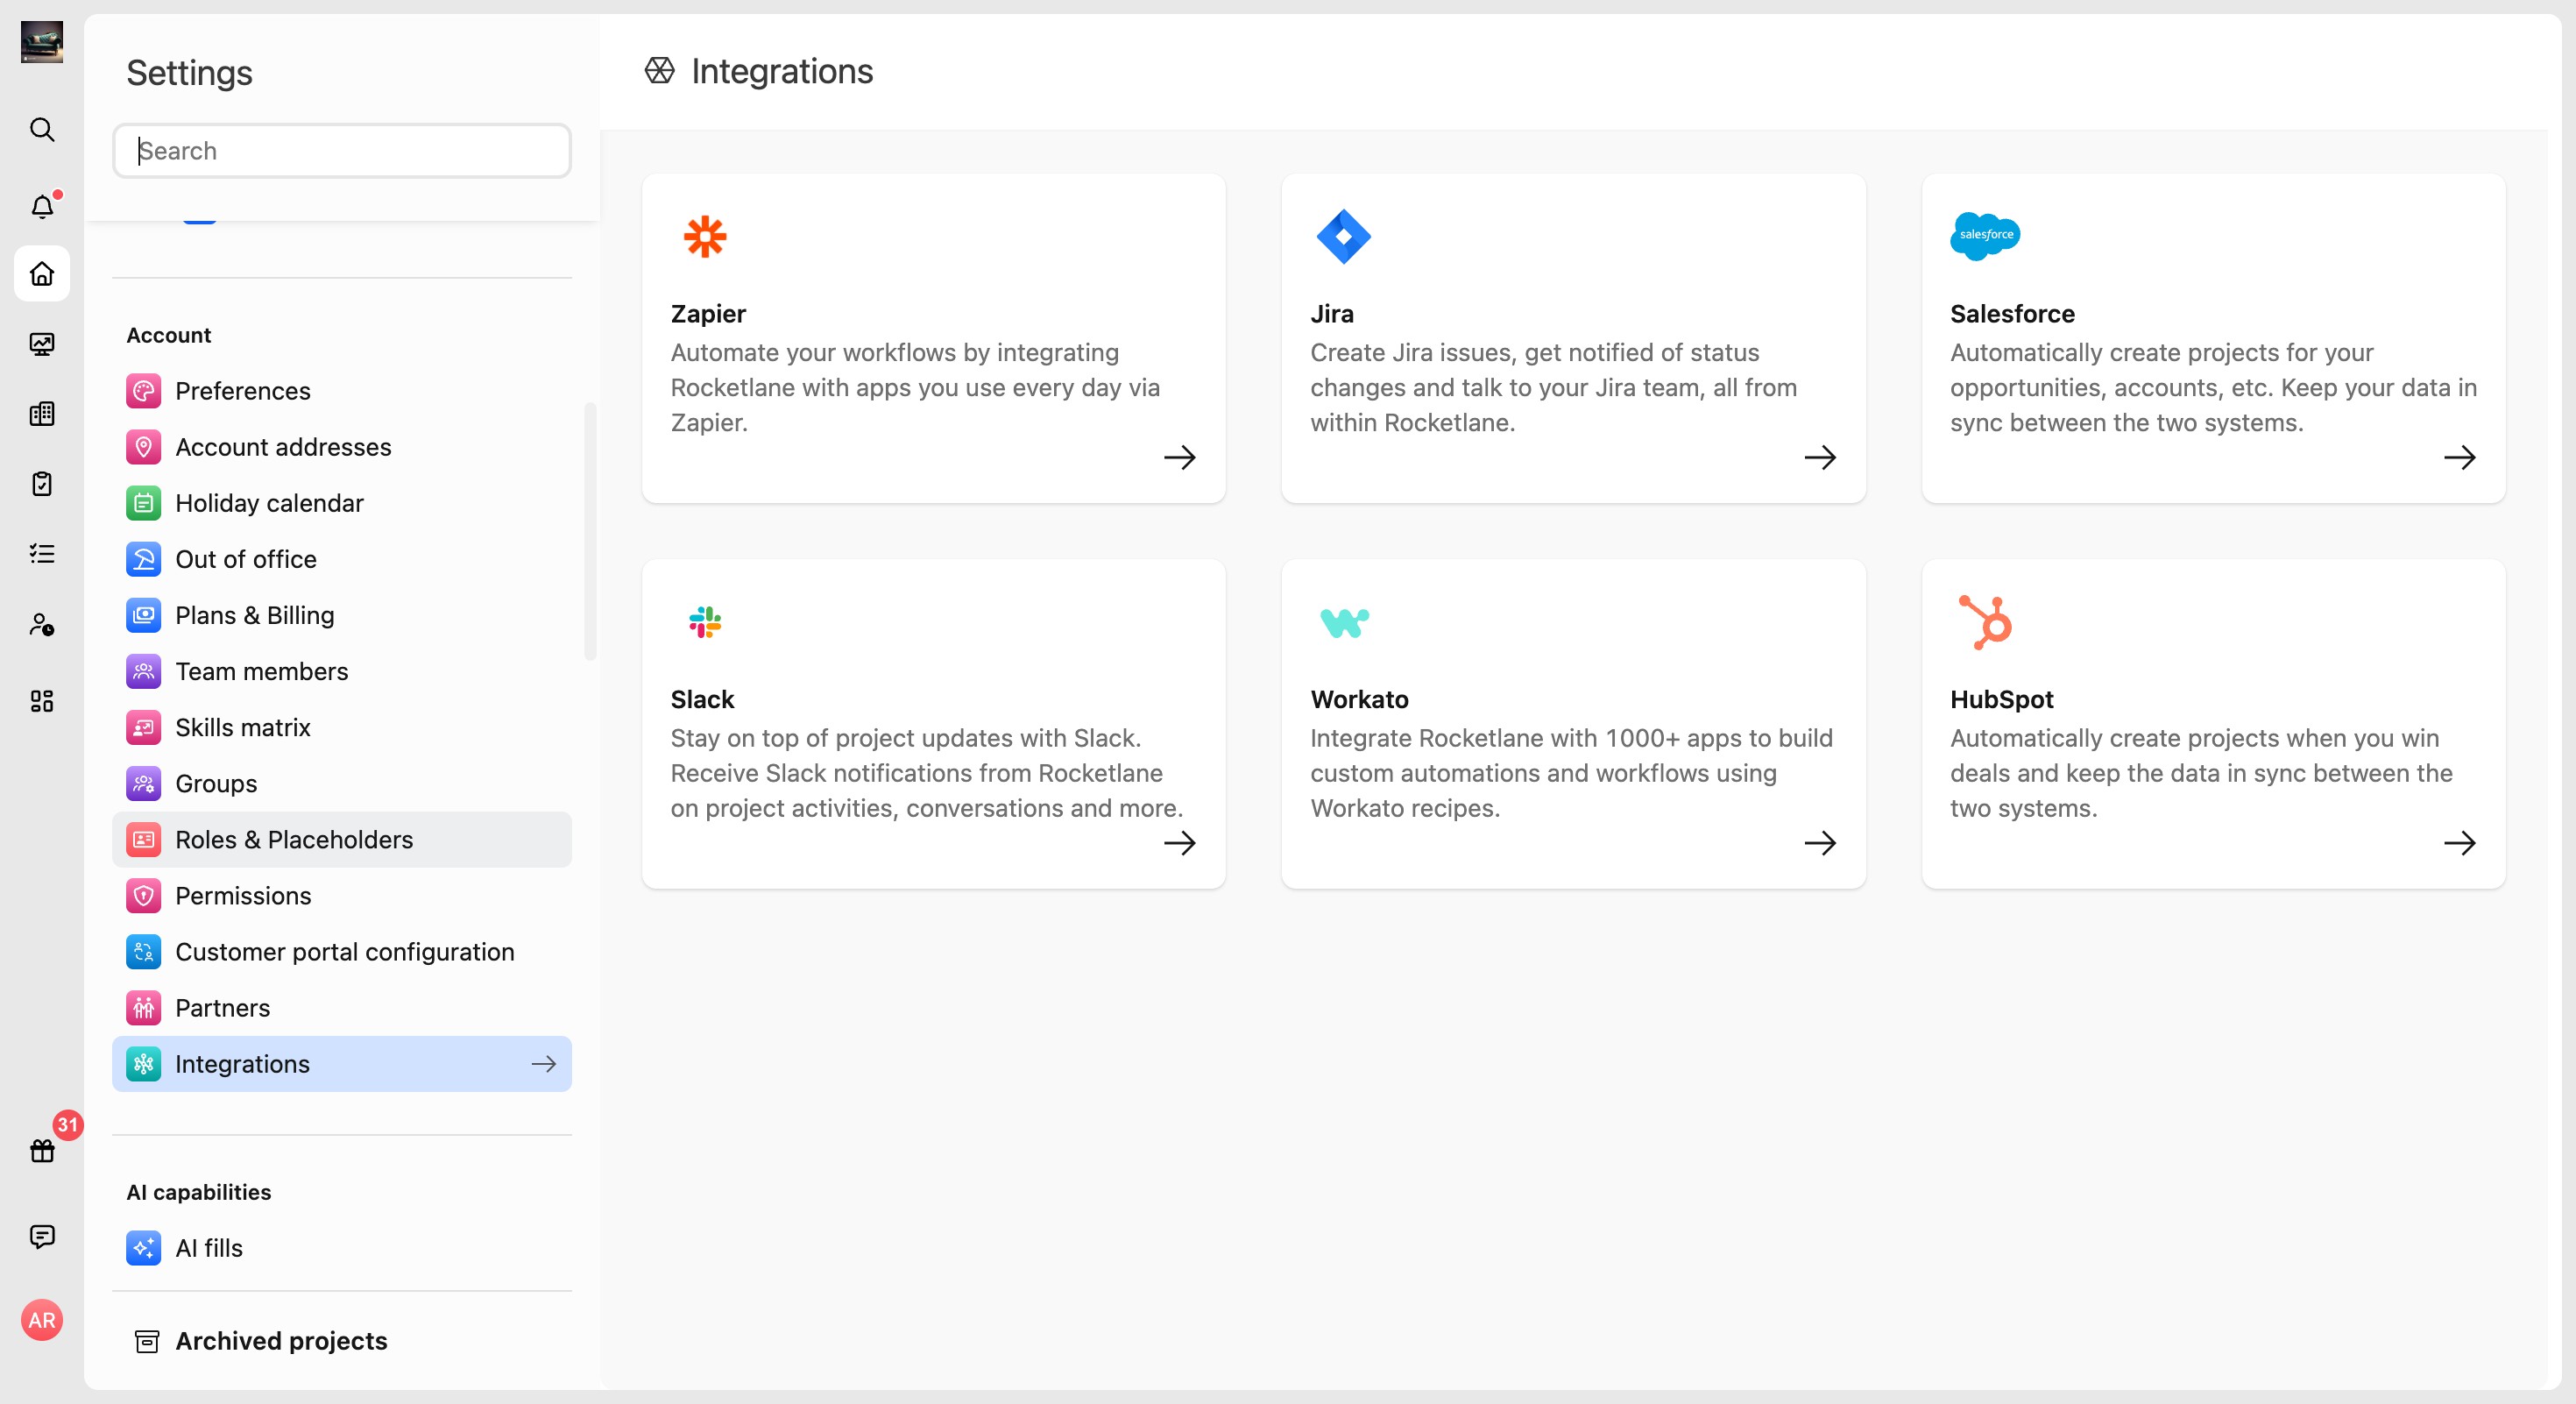
- Click your profile icon in the bottom-left corner of the Rocketlane dashboard and select Settings. In the left sidebar, go to Partners > Integrations.
- On the Integrations page, locate the HubSpot card and click it to open the connection settings.
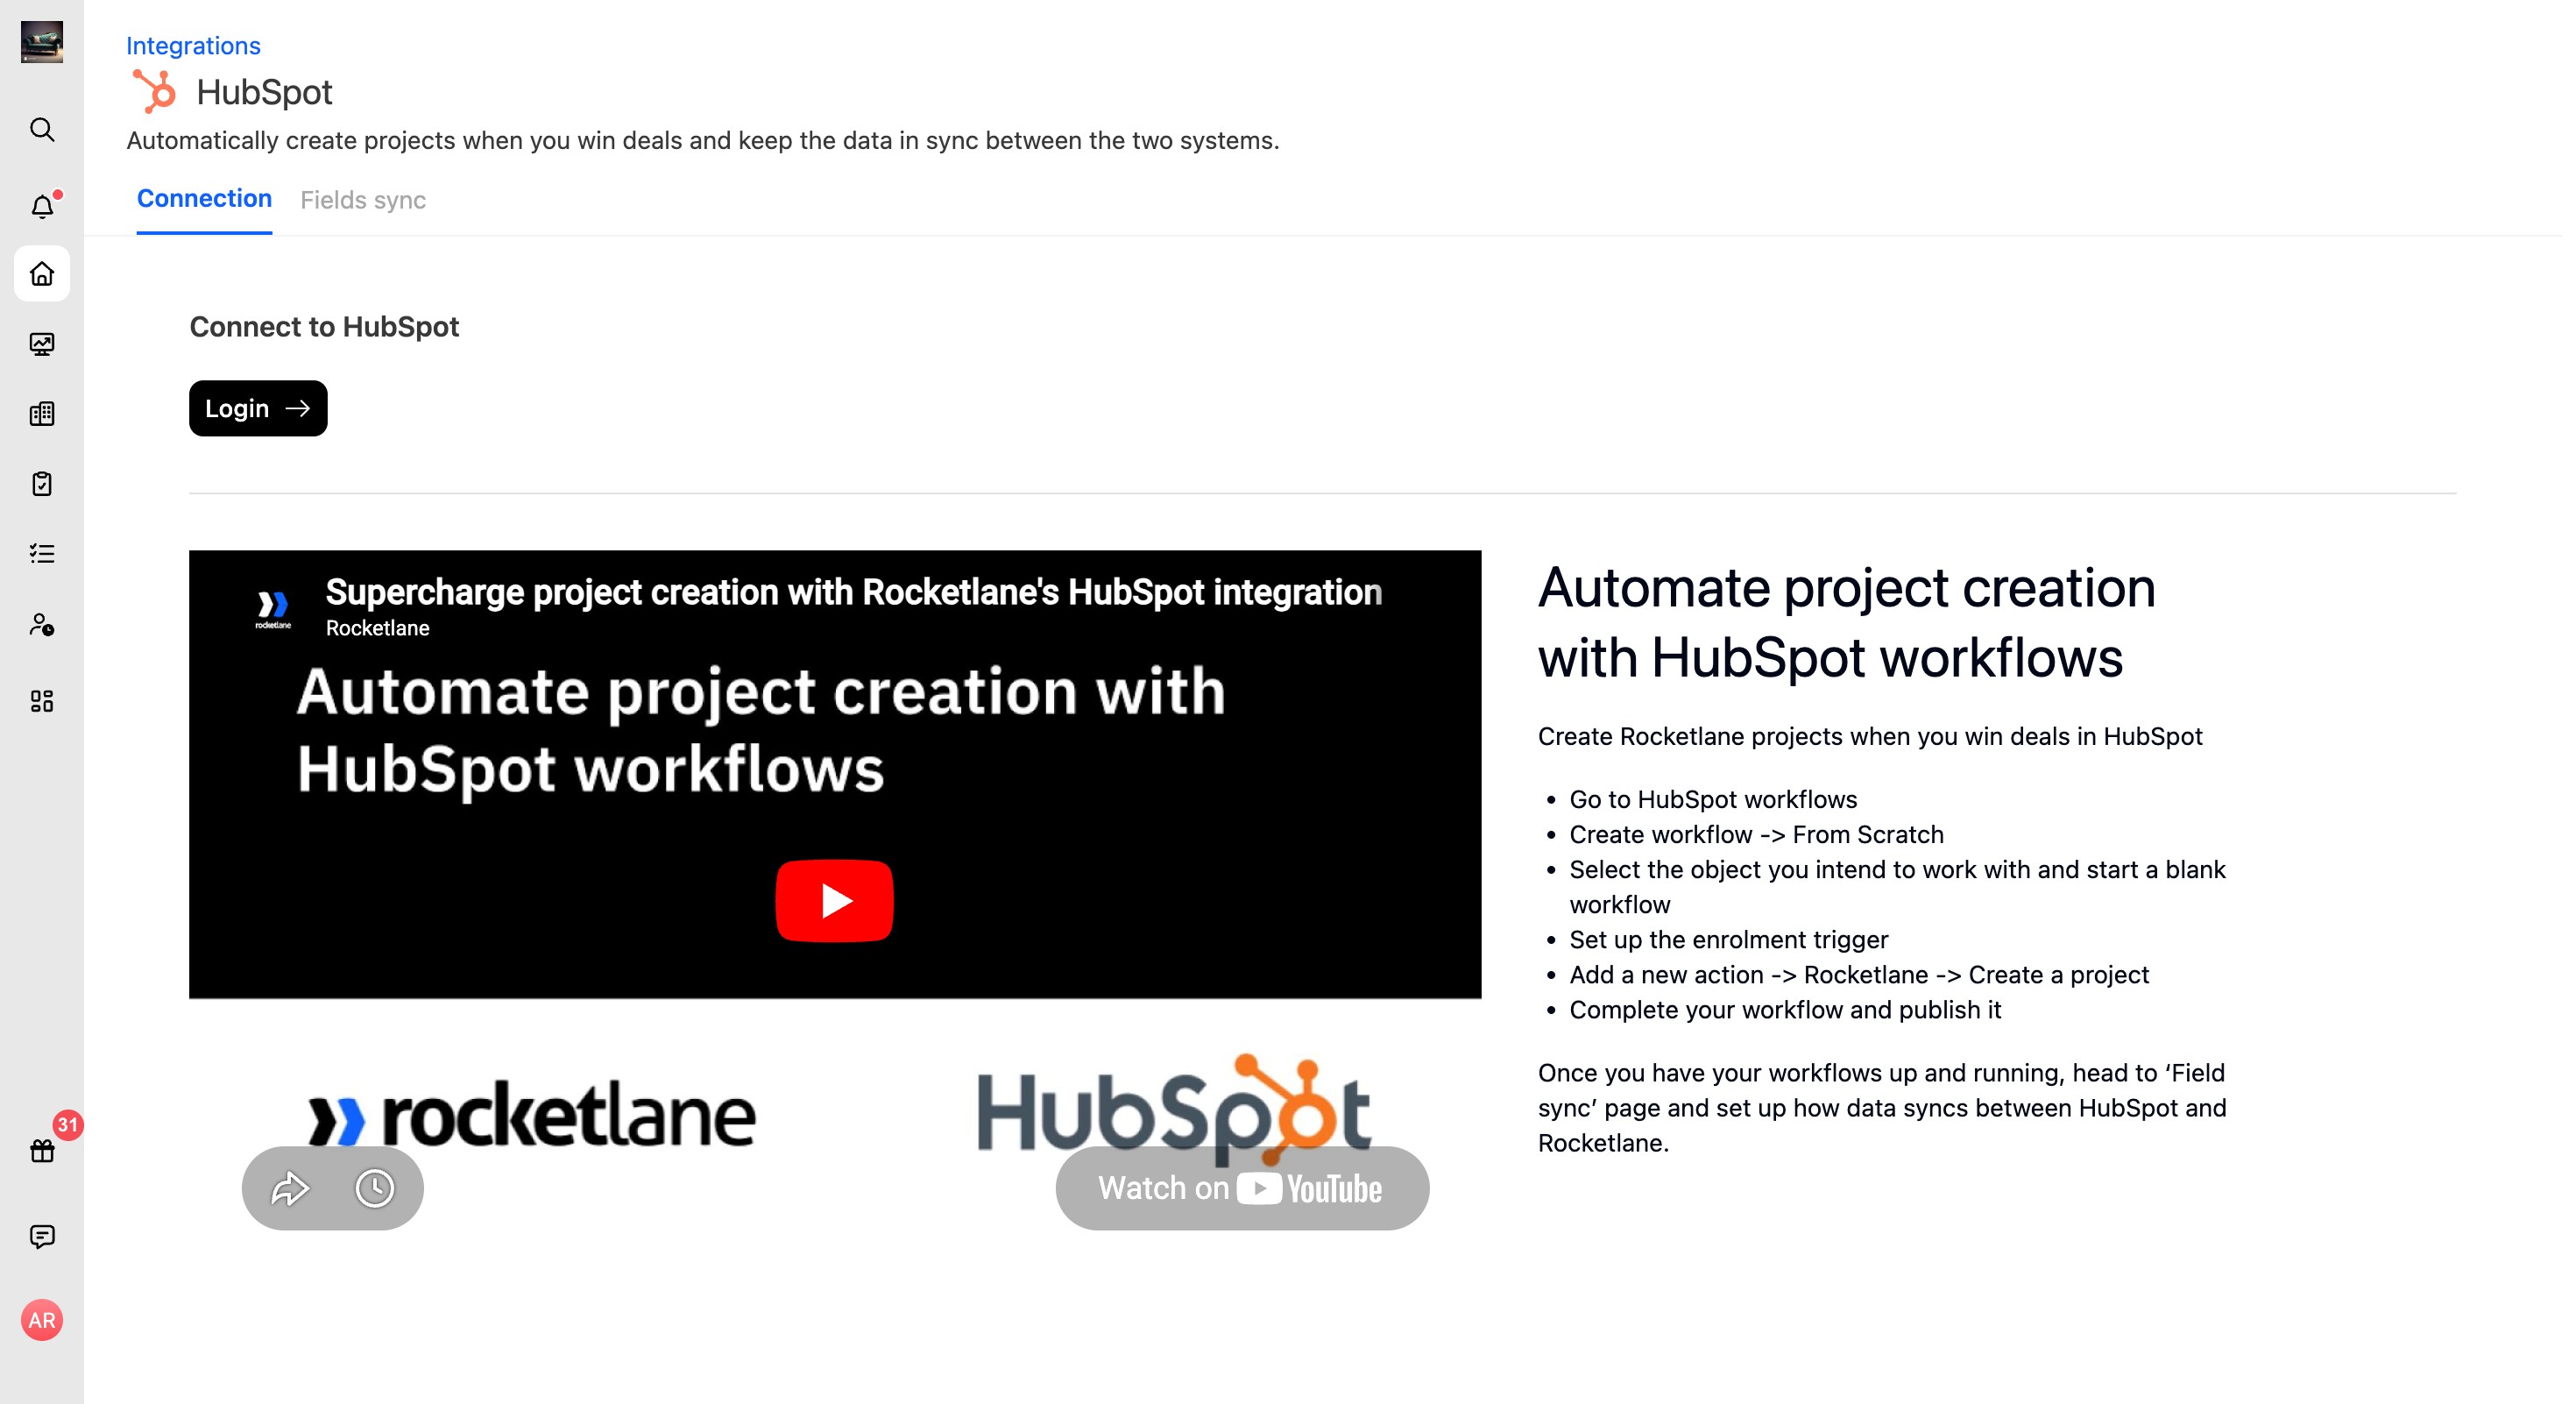
- You are redirected to the Connection tab on the HubSpot integration page. Click Login under Connect to HubSpot. This redirects you to HubSpot to securely authorize the connection.
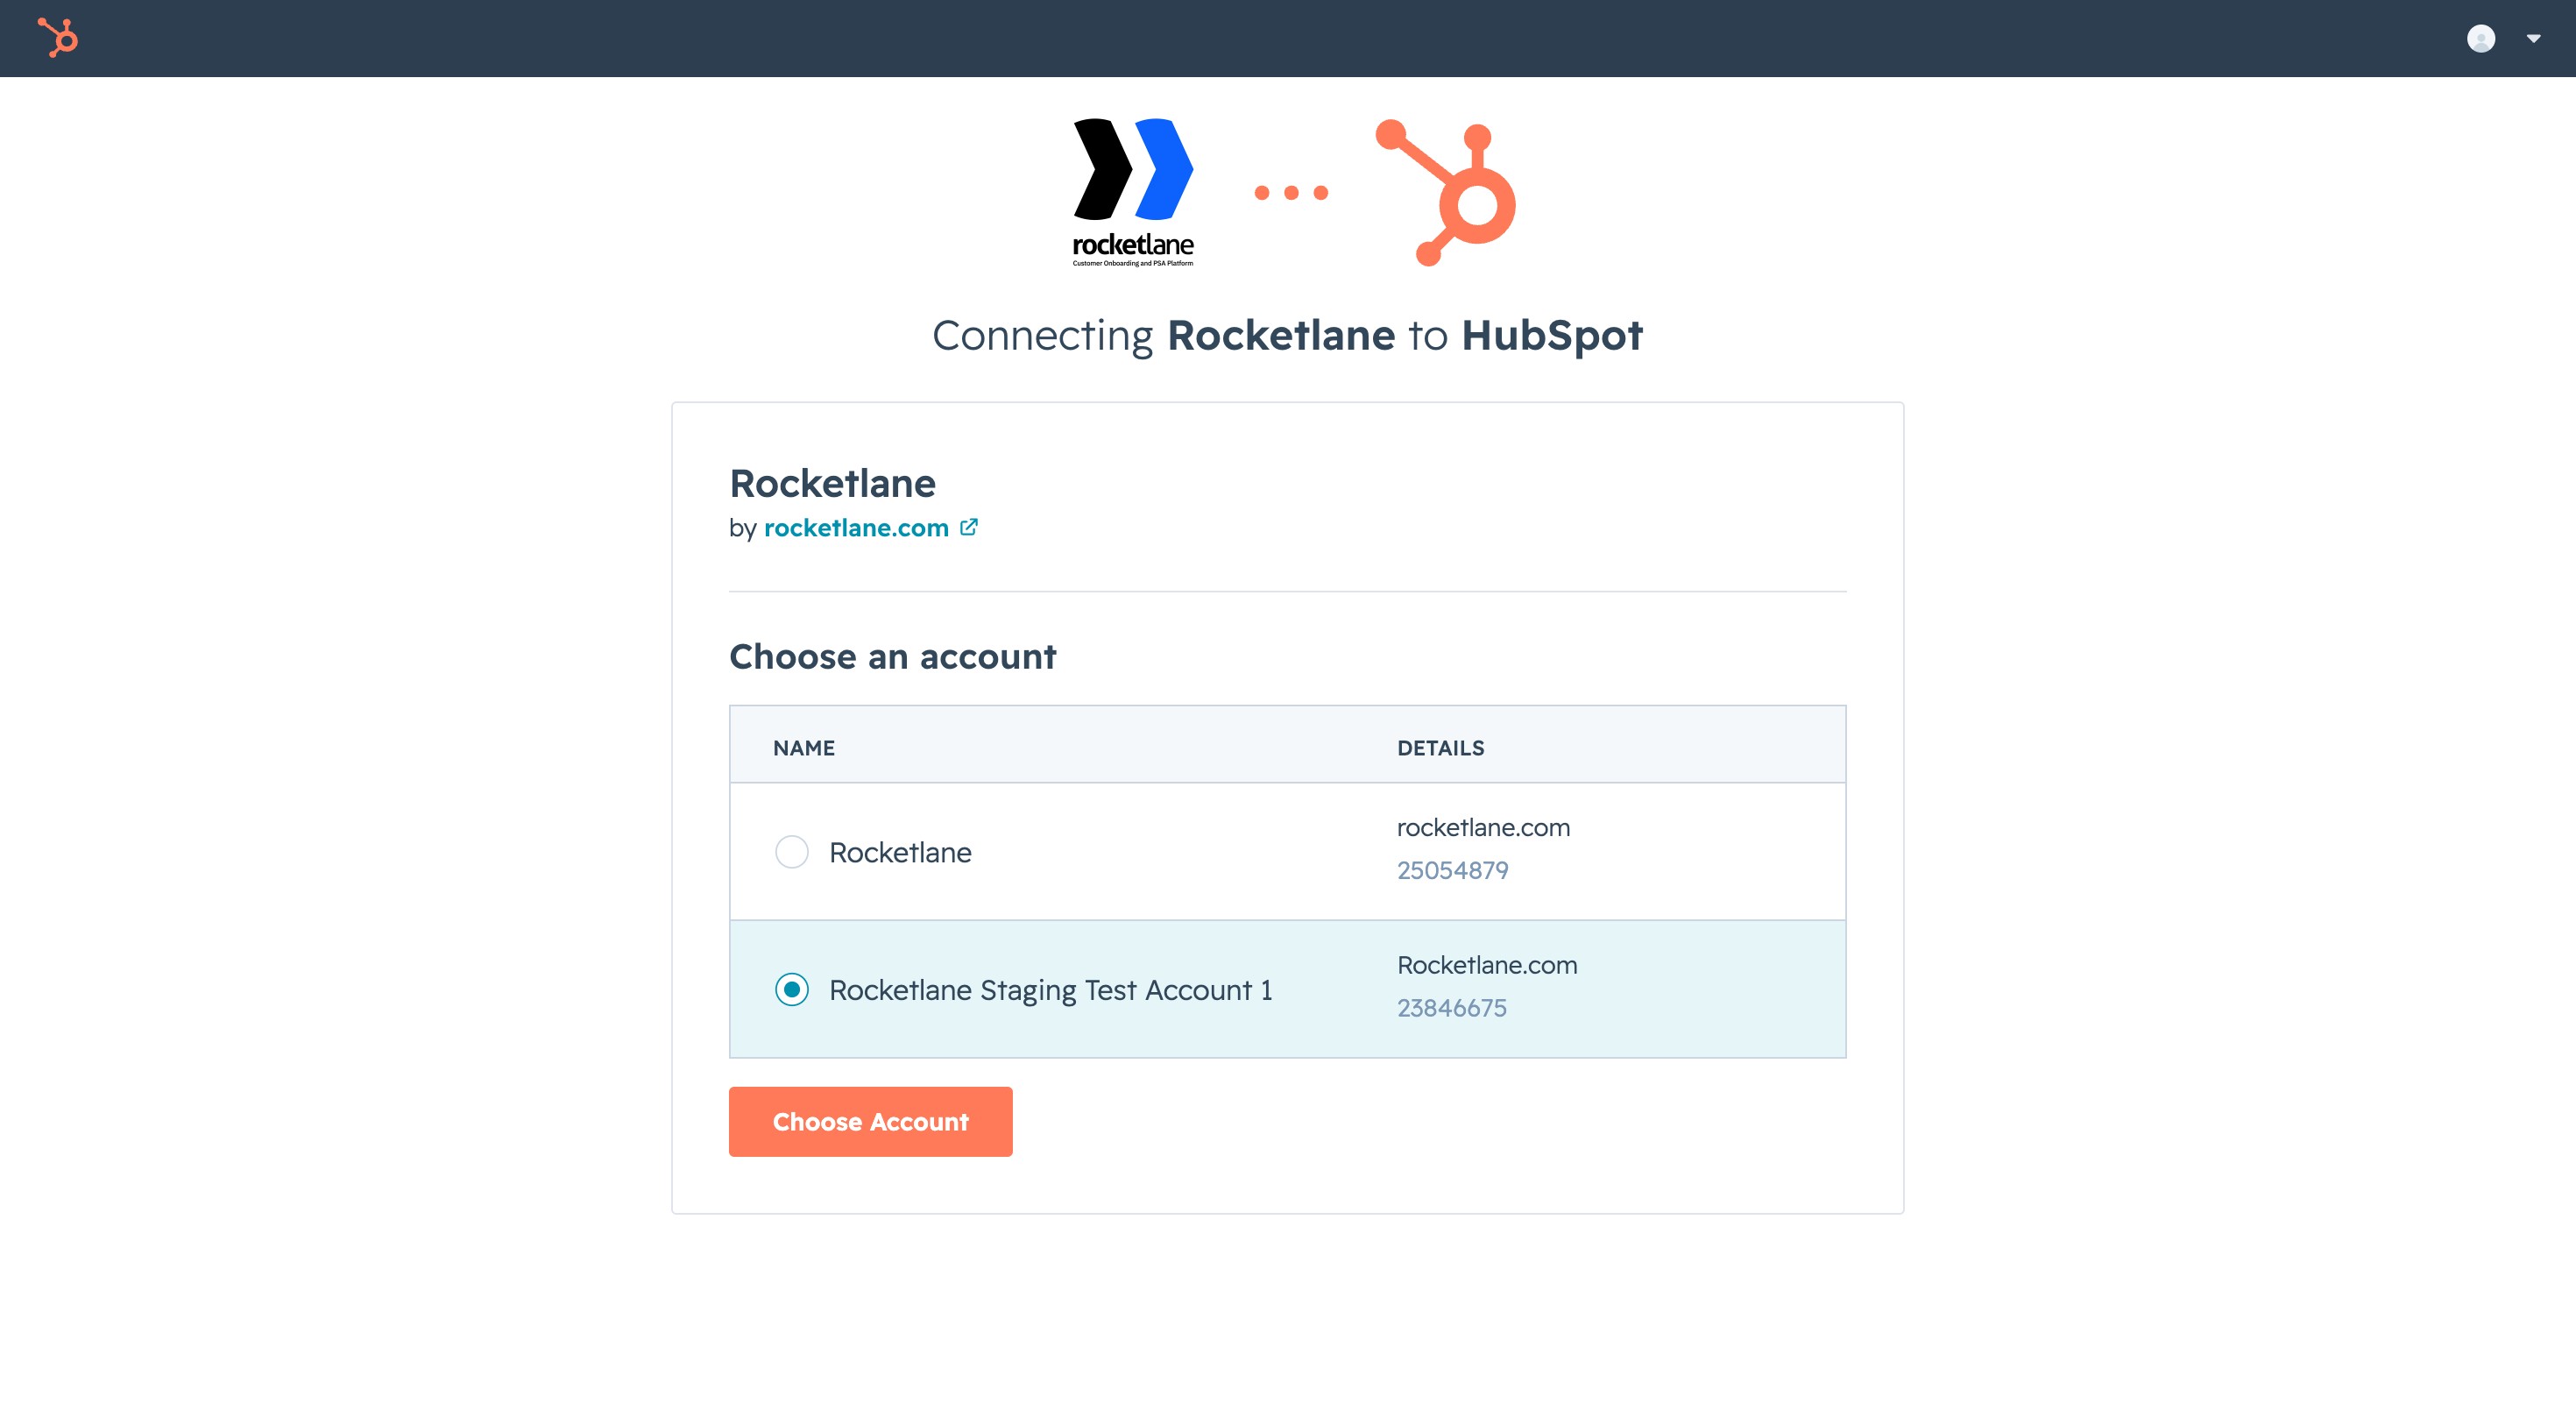
- Select the HubSpot account you want to connect to Rocketlane, then click Choose Account.
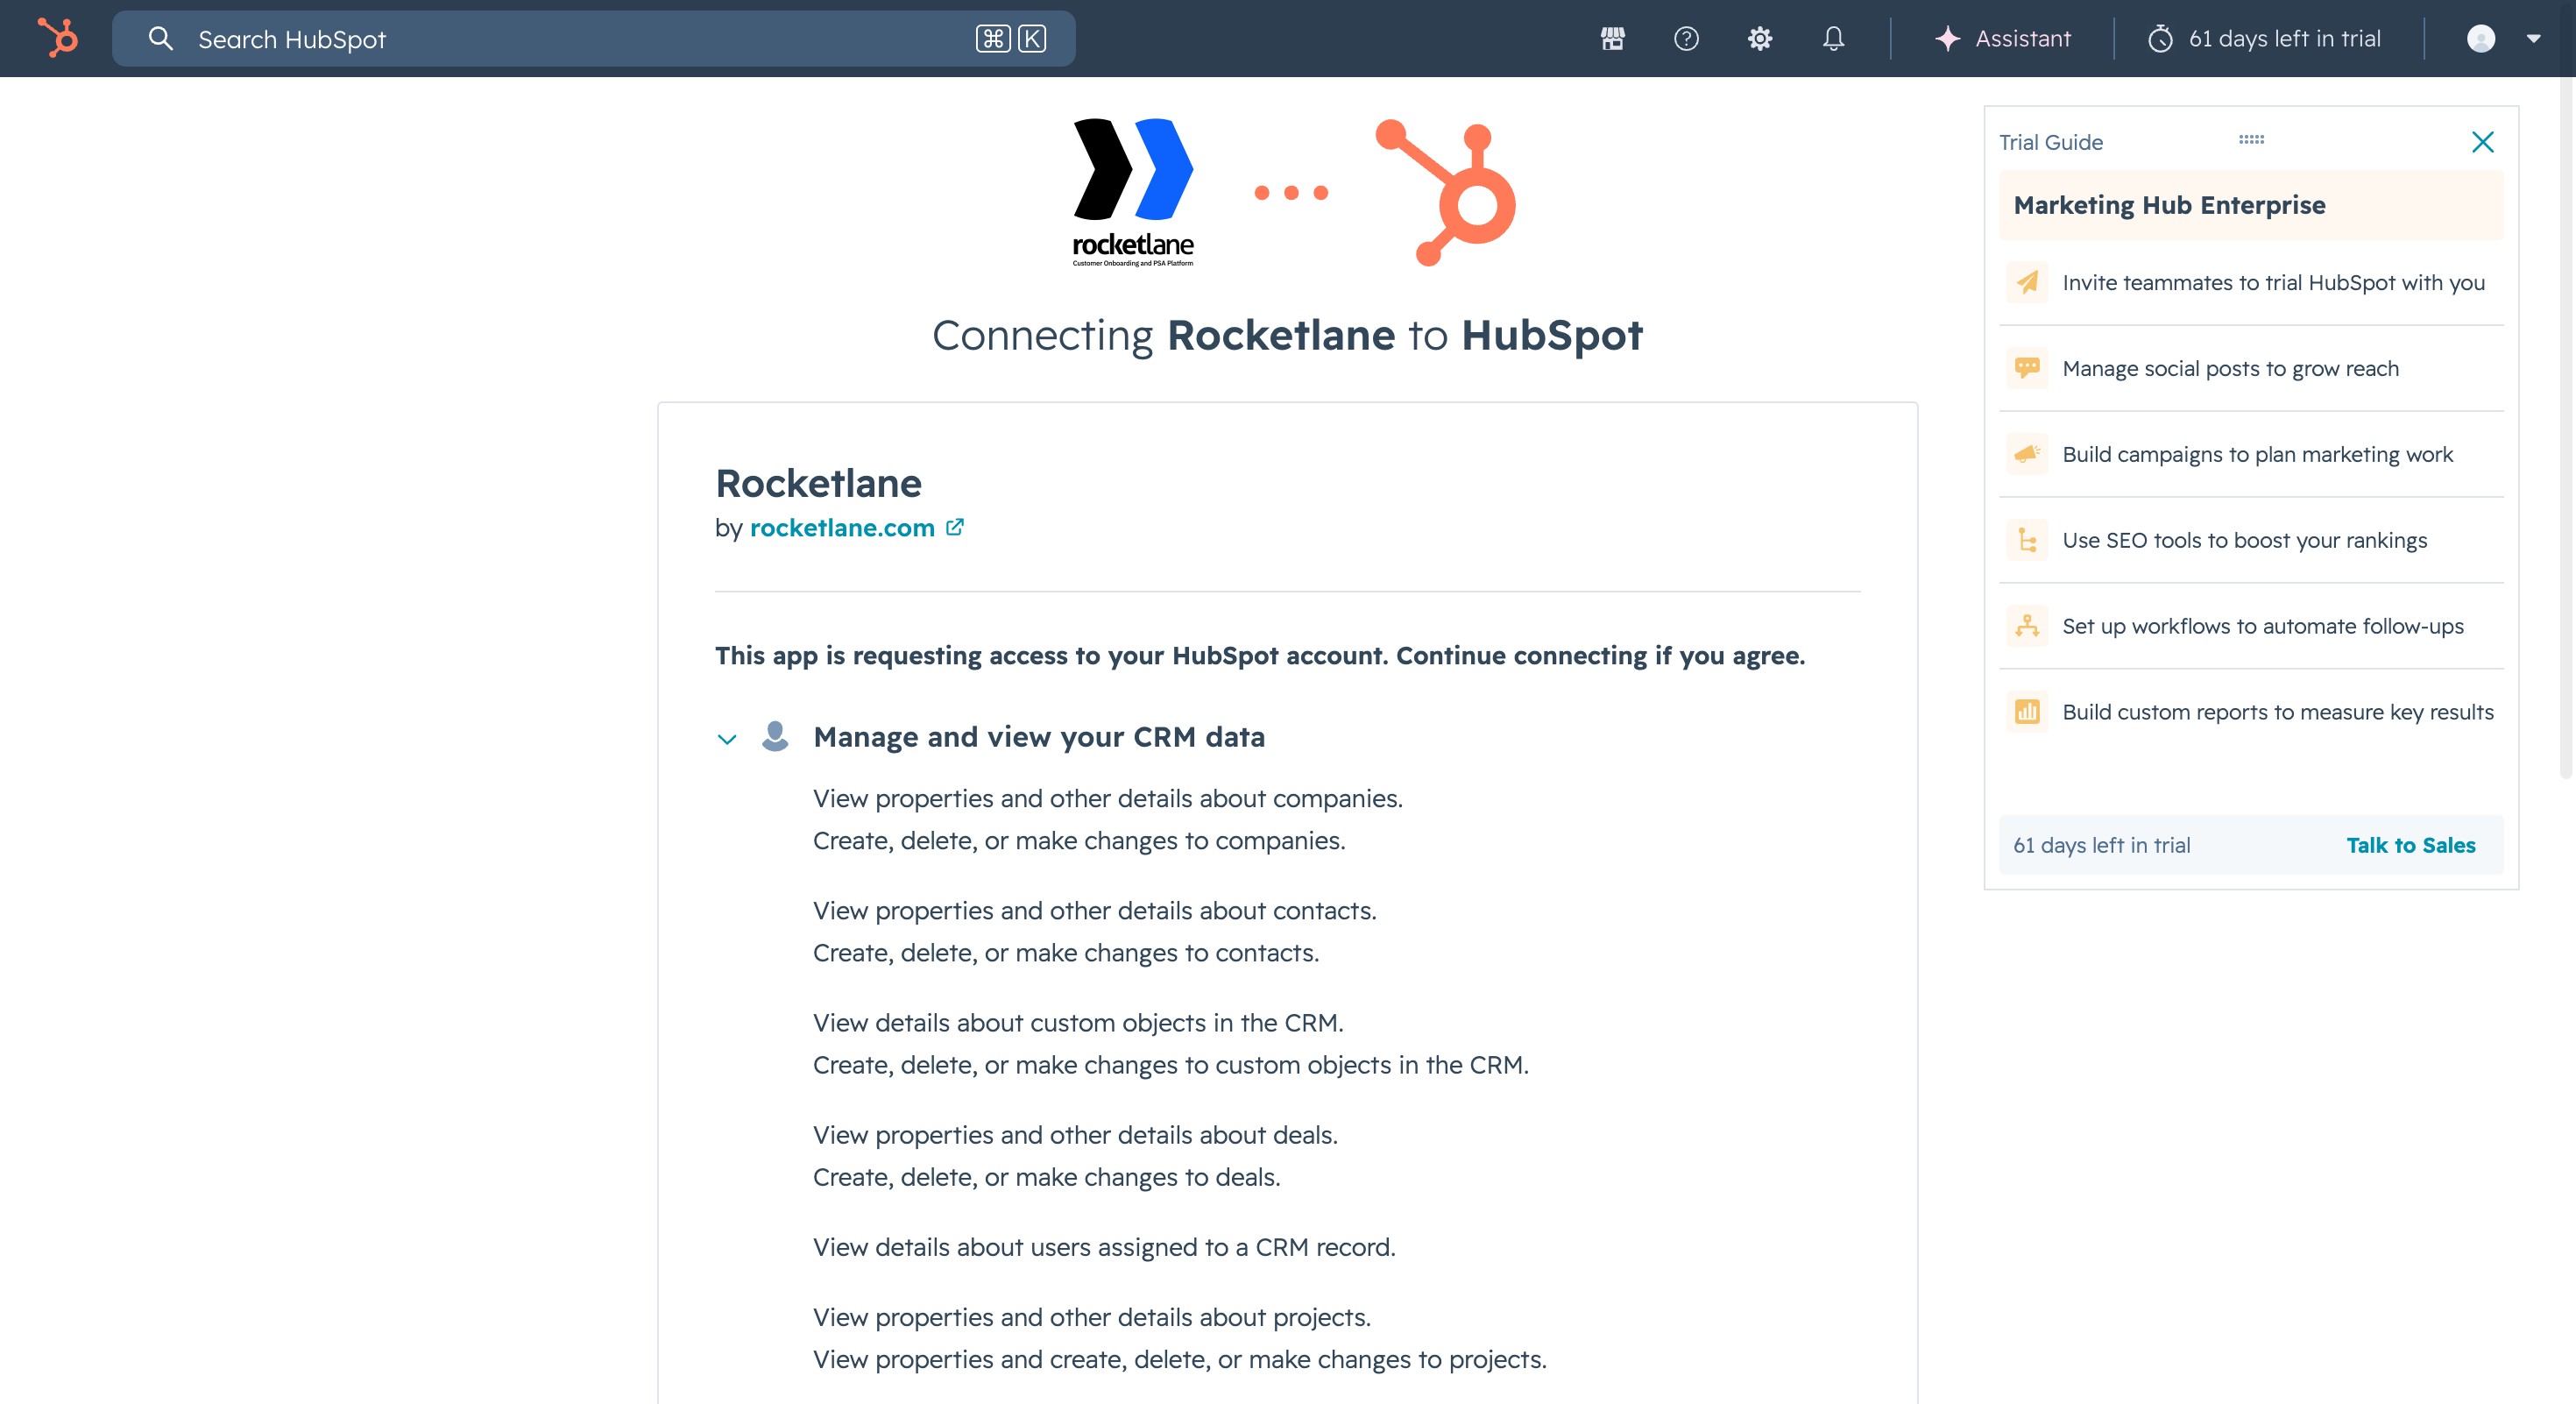
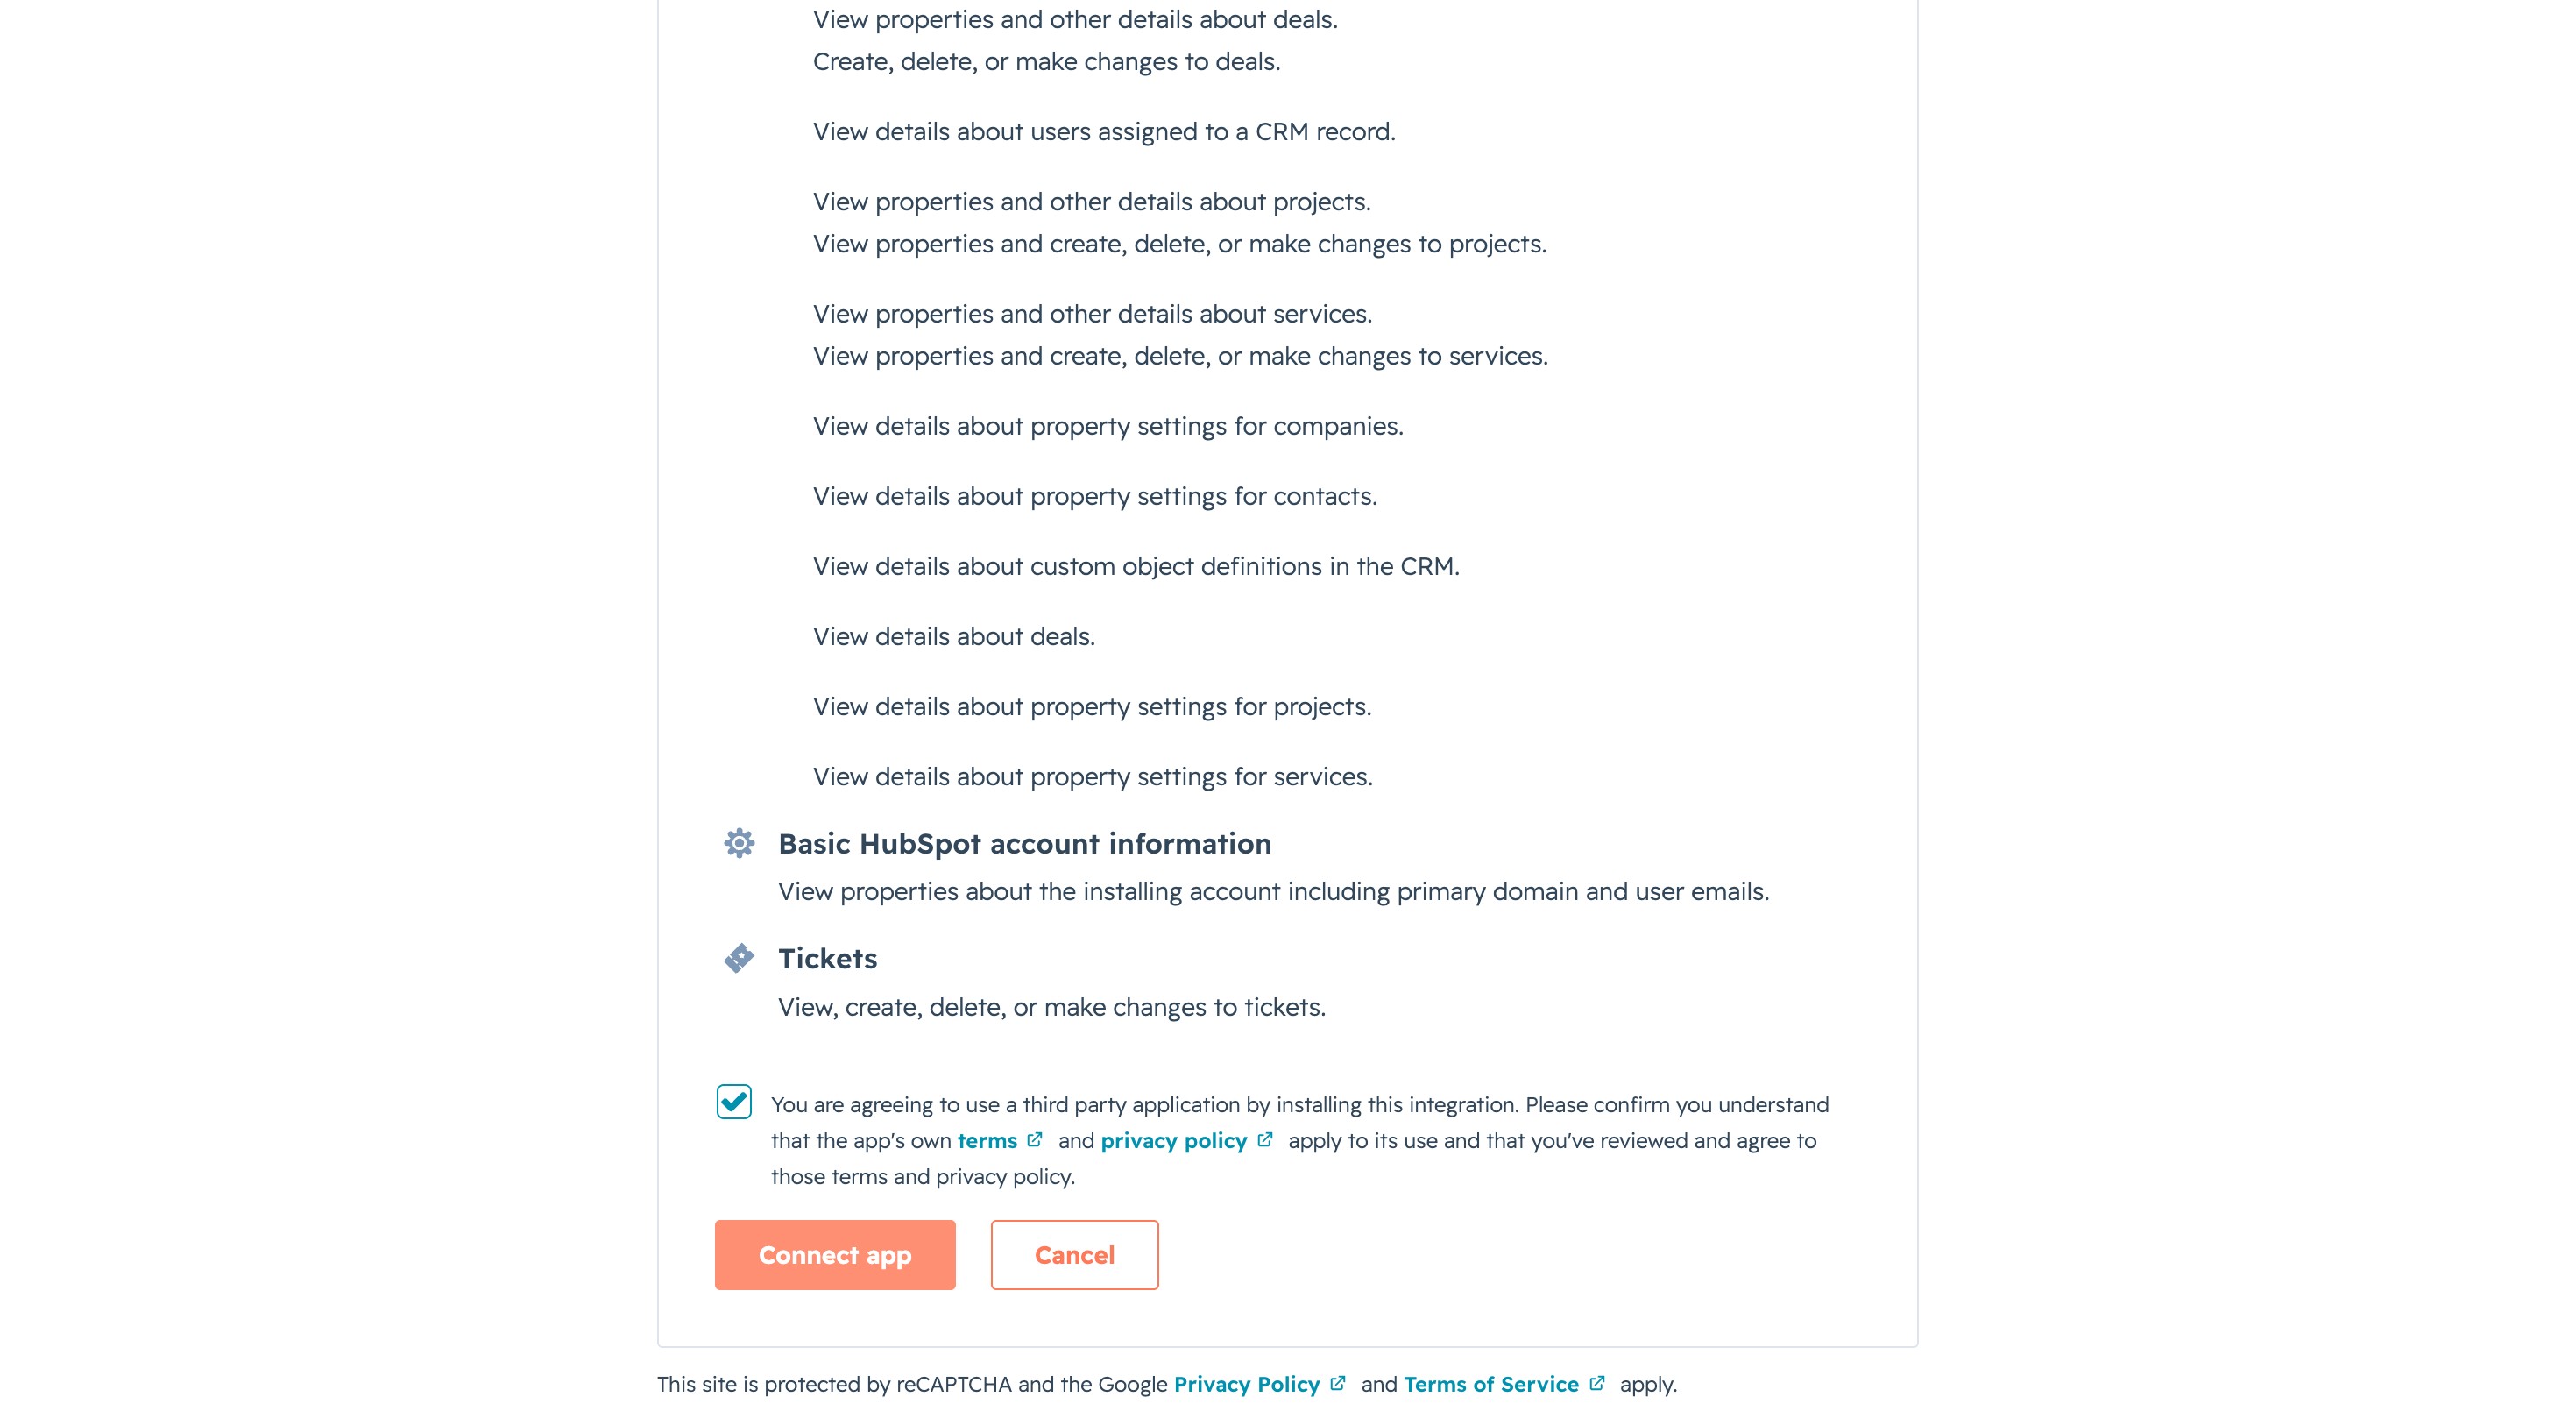
- Review the permissions requested by Rocketlane to manage and view your CRM data.
- Review the HubSpot authorization agreement and click Connect app.
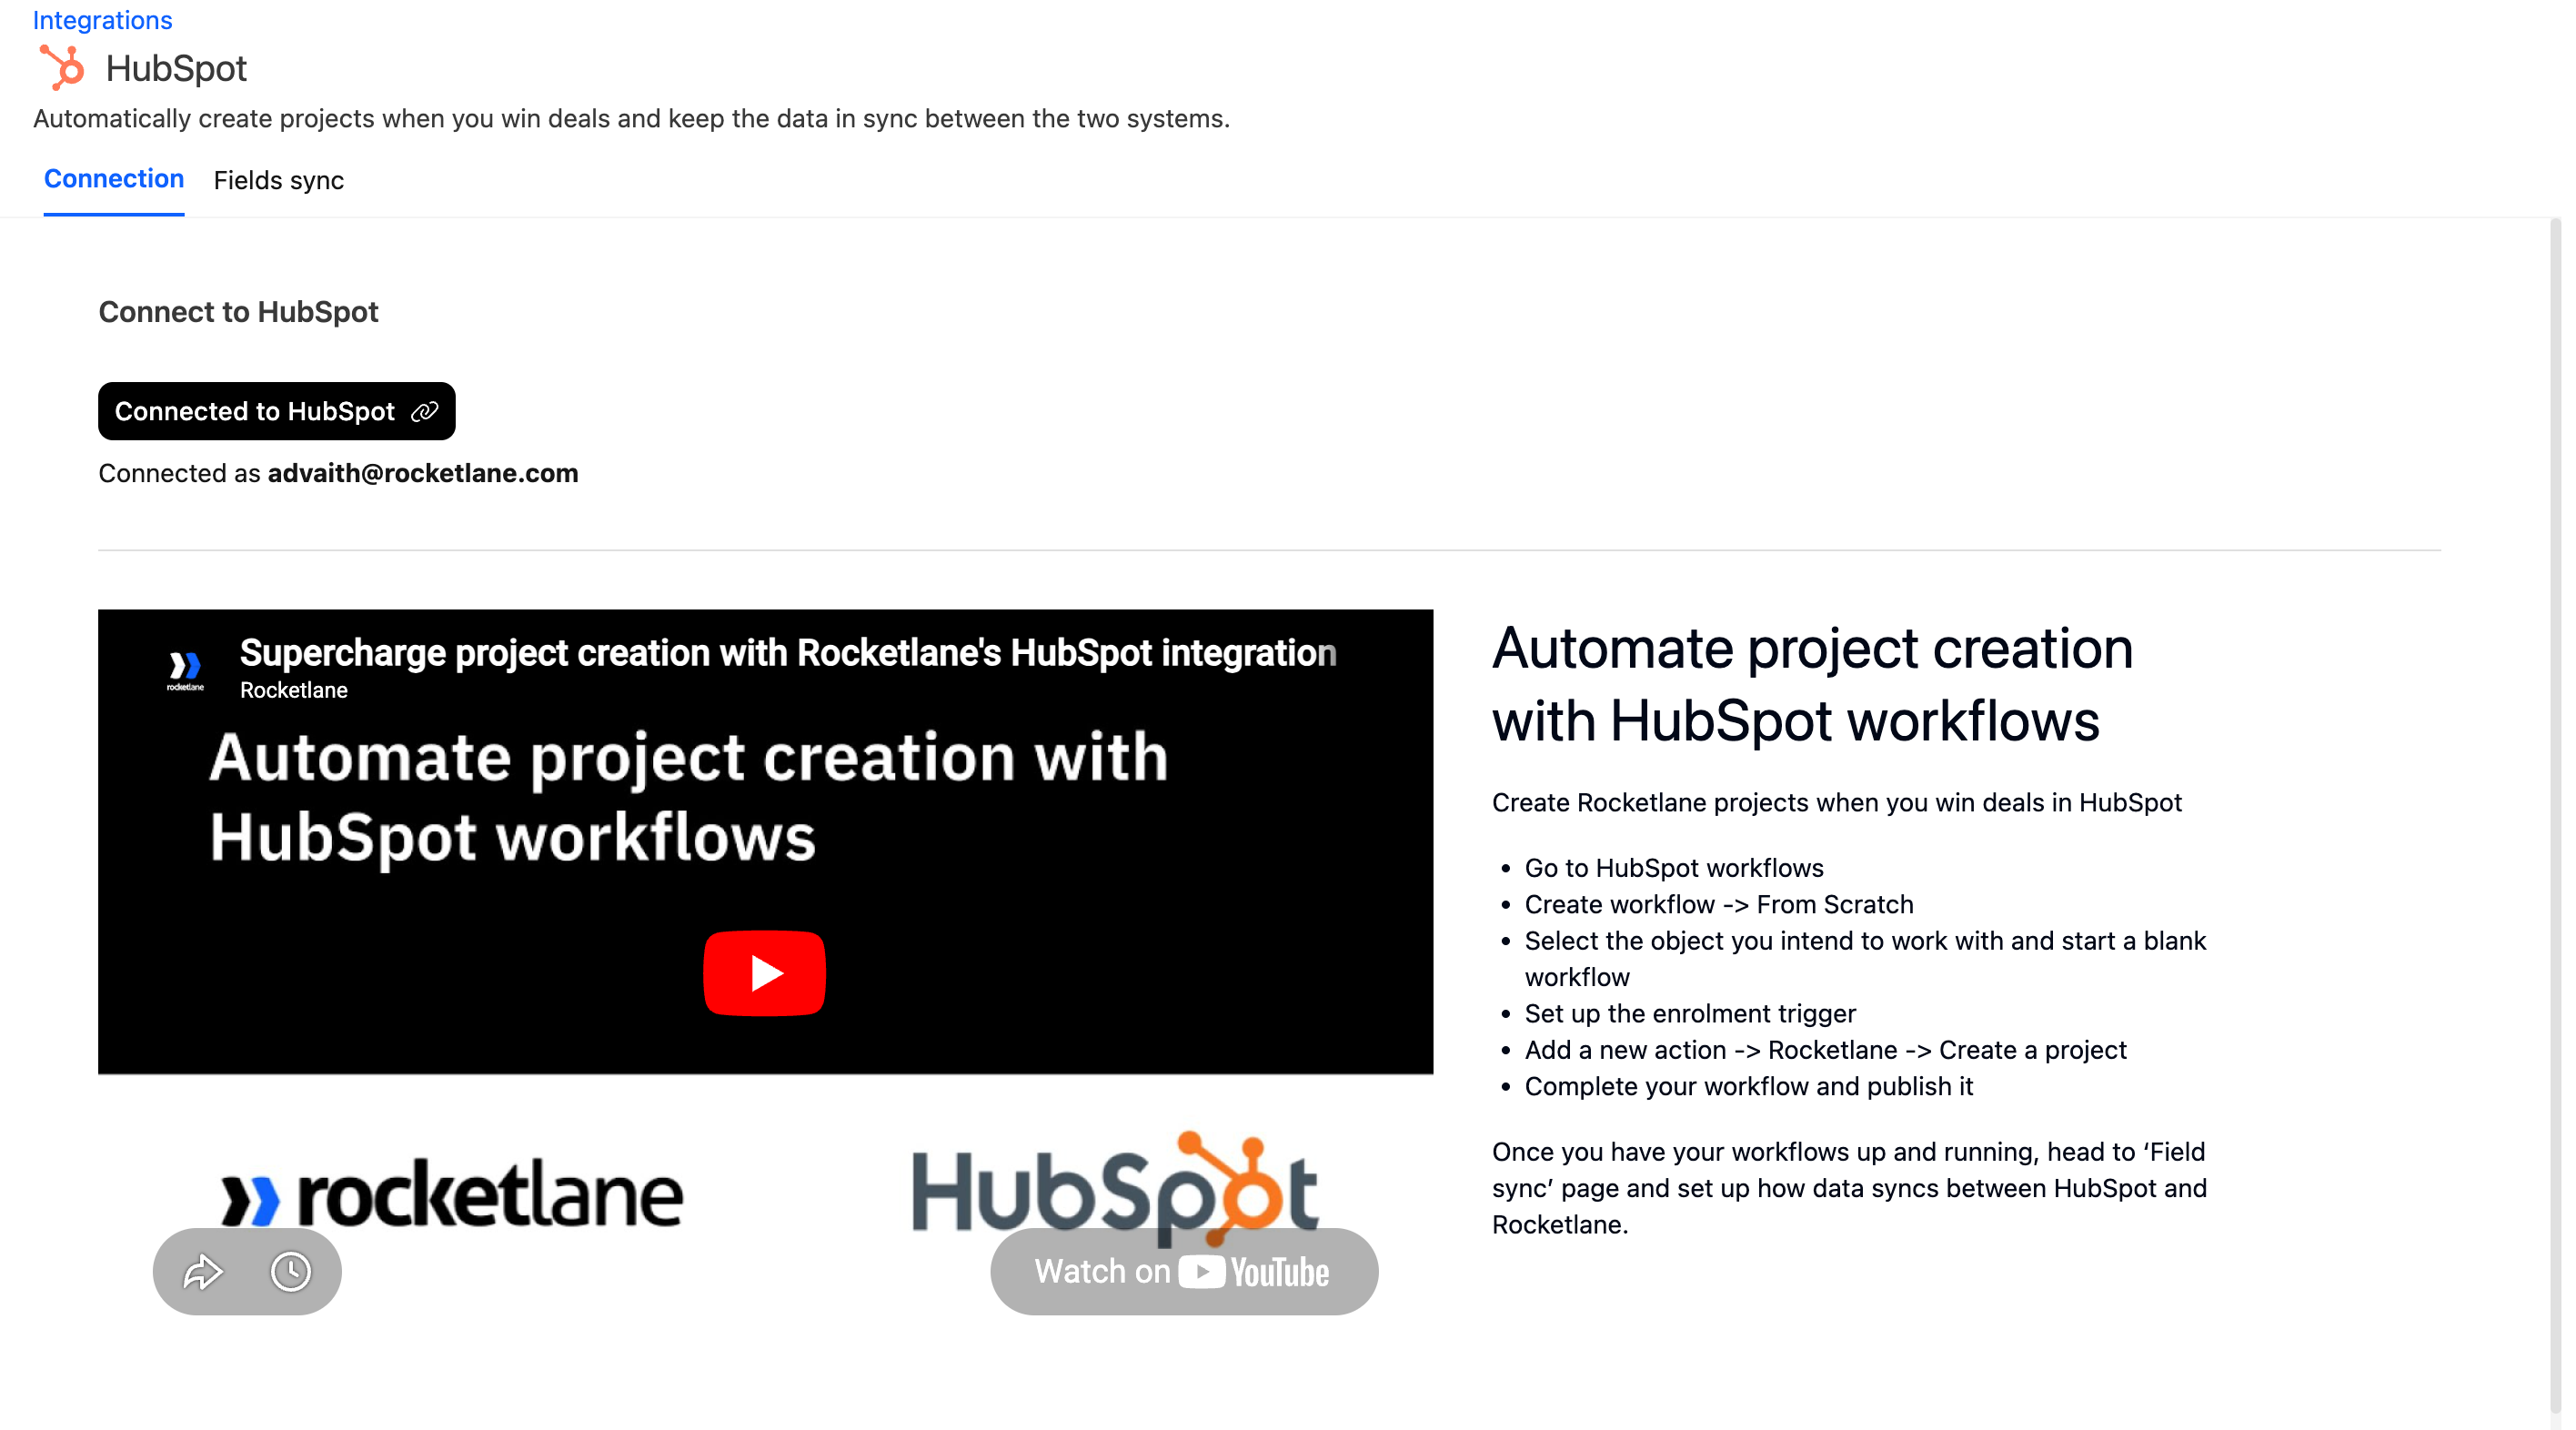
- HubSpot redirects you back to Rocketlane with a success confirmation. Your HubSpot account is now integrated with Rocketlane.
Automating project creation using HubSpot workflows
The HubSpot integration lets you create a deal-based workflow that automatically creates a Rocketlane project when a deal reaches configured stages.
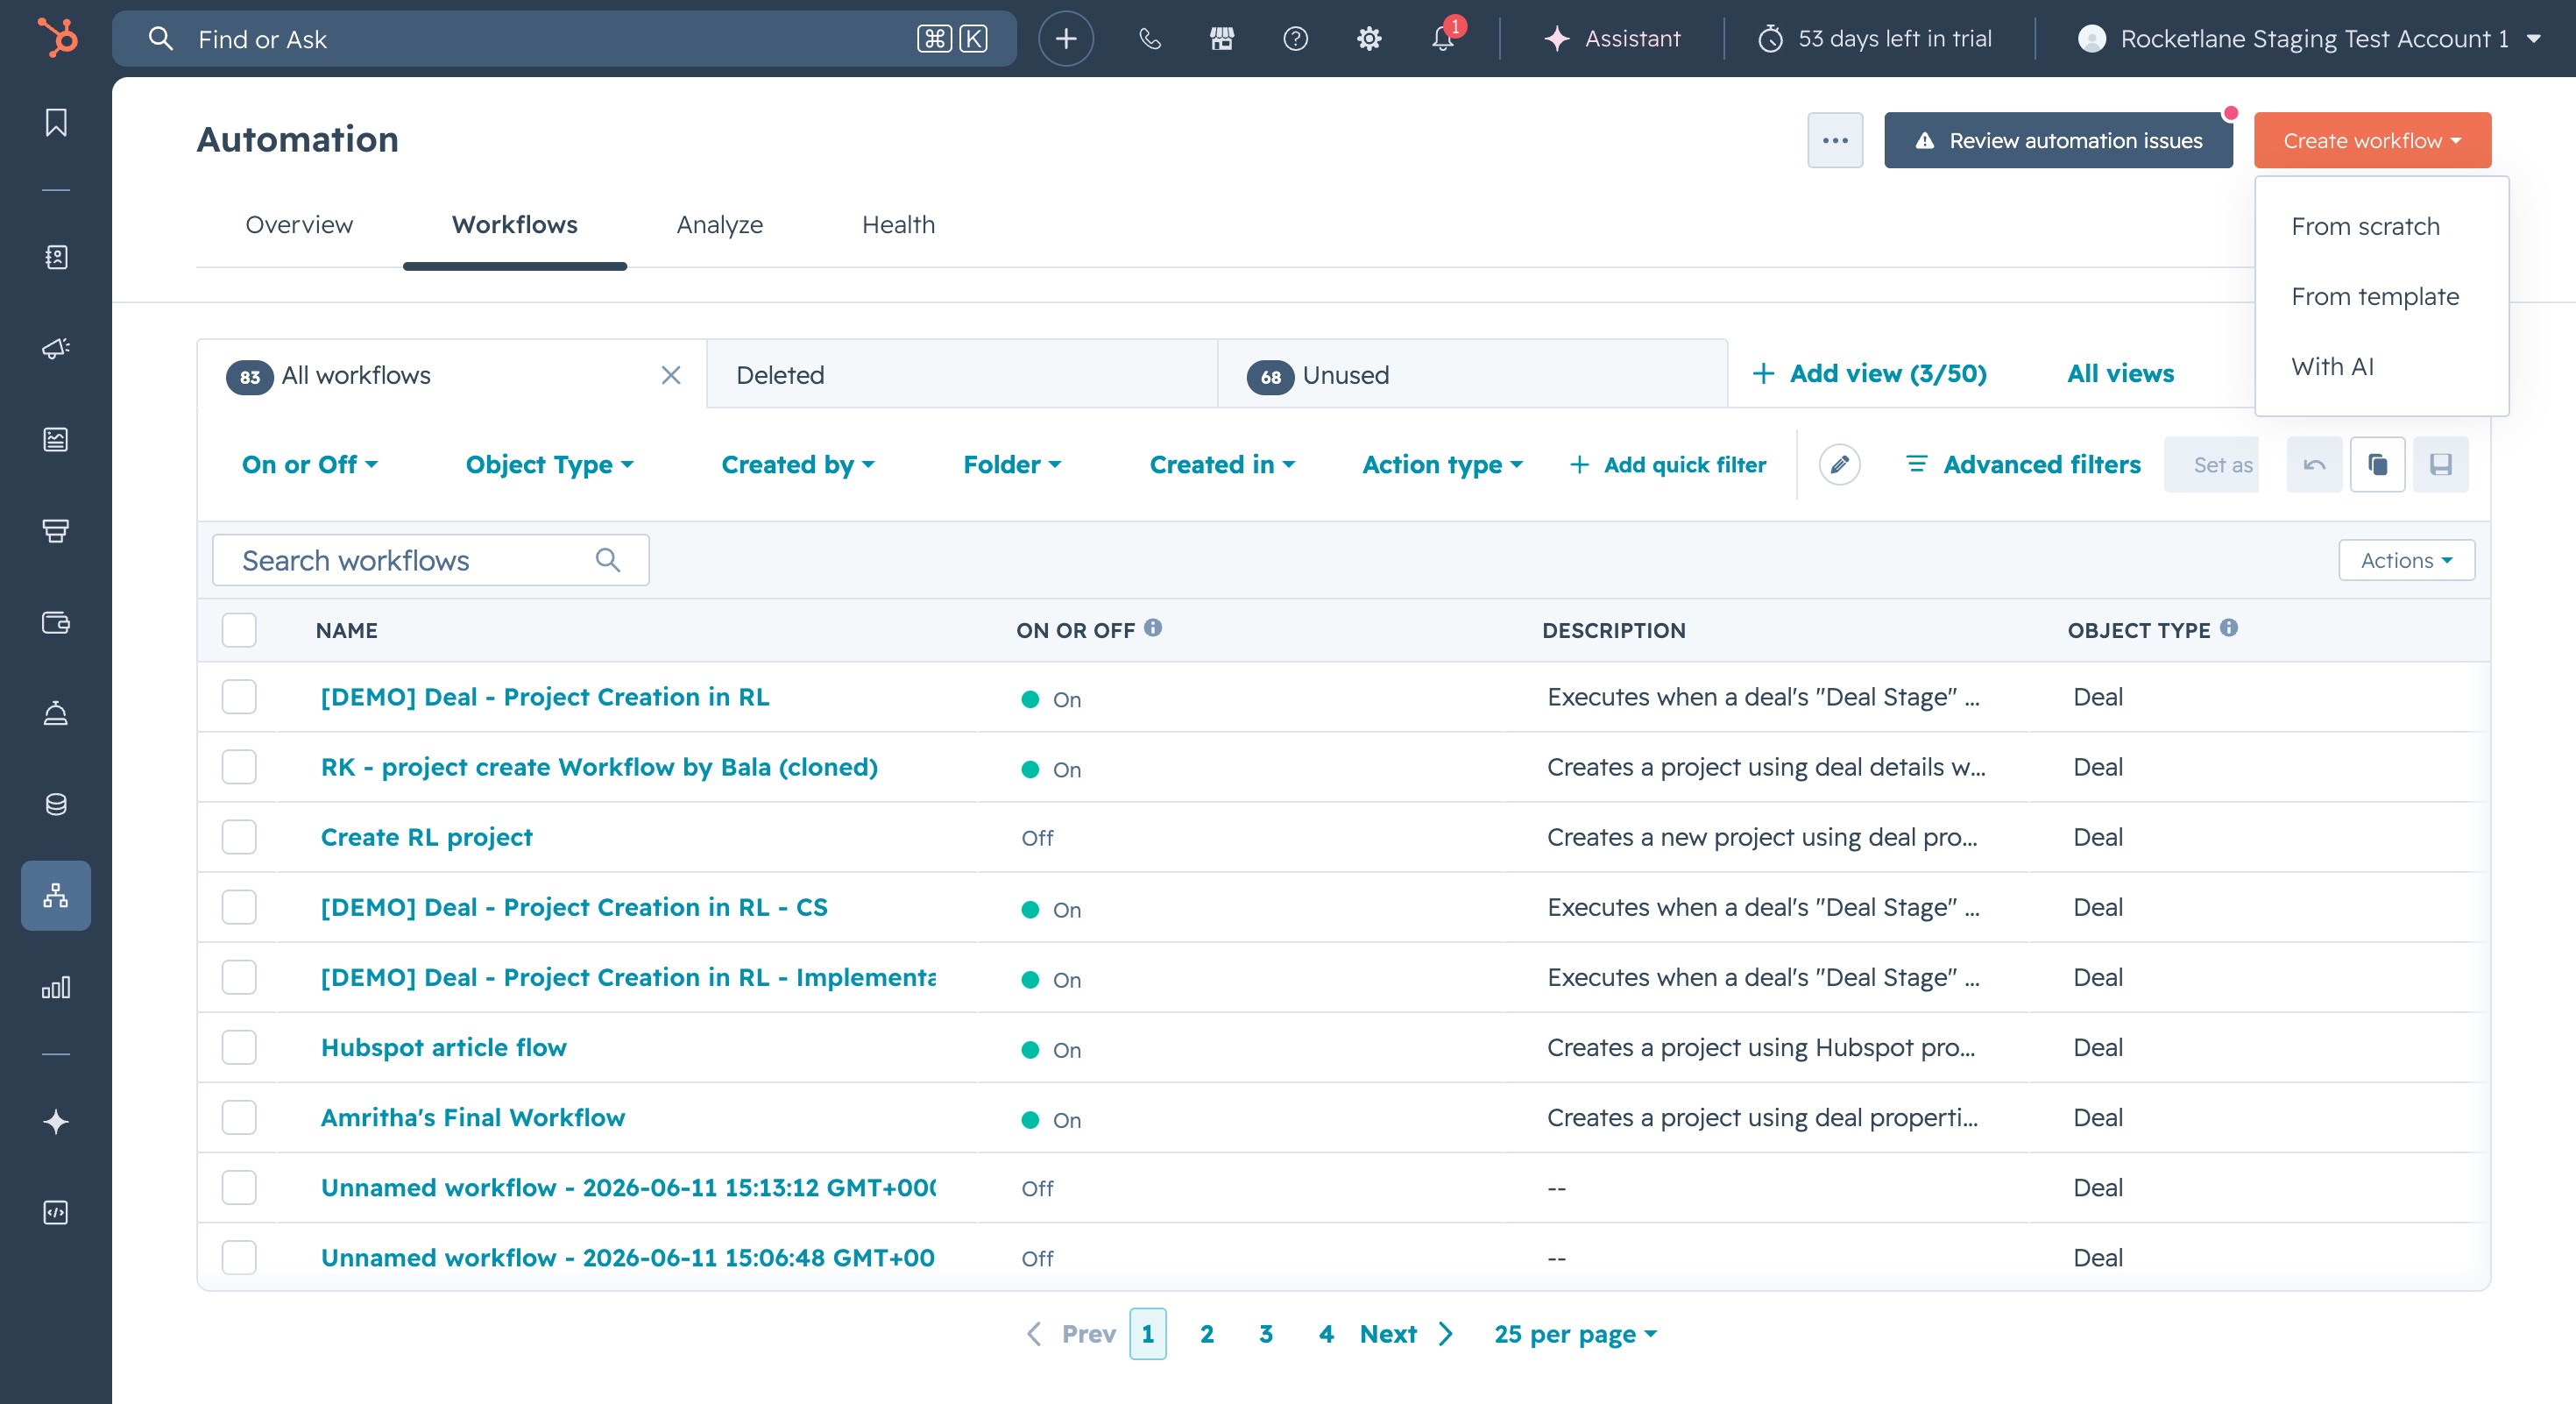
- In HubSpot, go to Automation > Workflows and click Create workflow. Select From scratch.
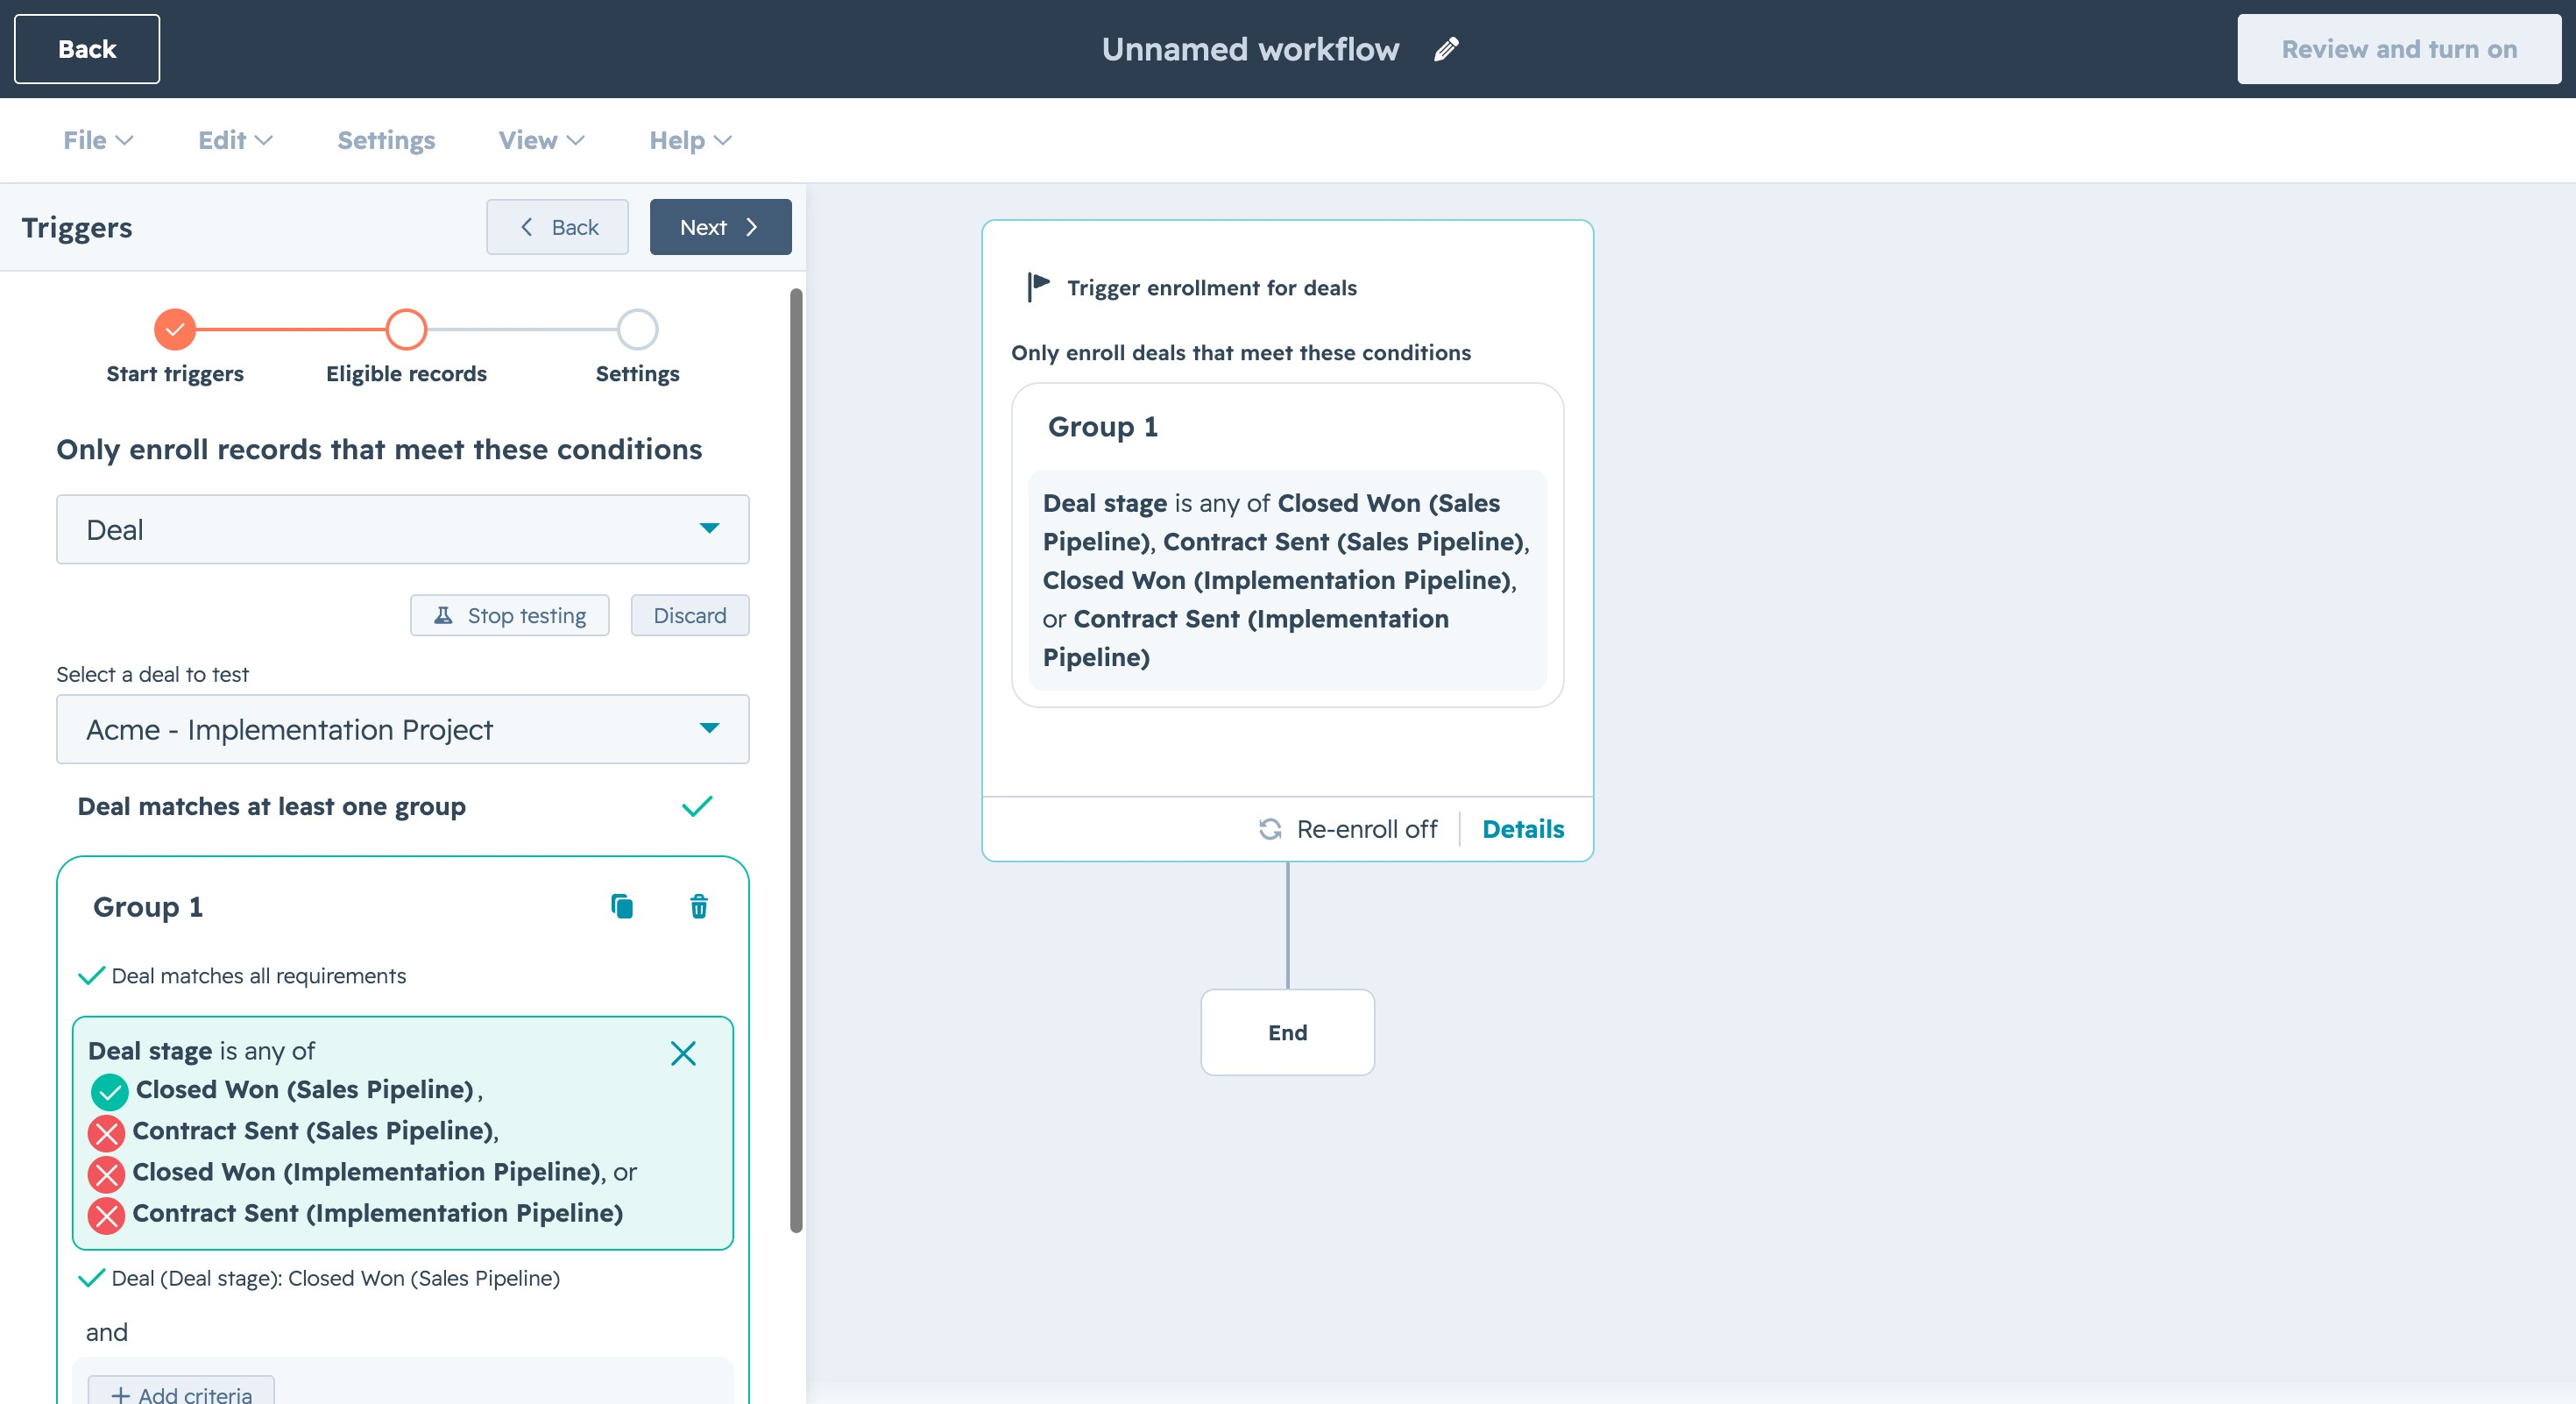
- Configure the trigger criteria. Select Record meets a set of filter conditions, choose Deal as the record type, and set Deal stage to any of the following: Closed Won (Sales Pipeline), Contract Sent (Sales Pipeline), Closed Won (Implementation Pipeline), or Contract Sent (Implementation Pipeline). You can test the criteria by selecting a sample deal.
- Click Next to open the Settings step. Turn Re-enroll on so deals can re-enroll in the workflow when they meet the trigger criteria again.
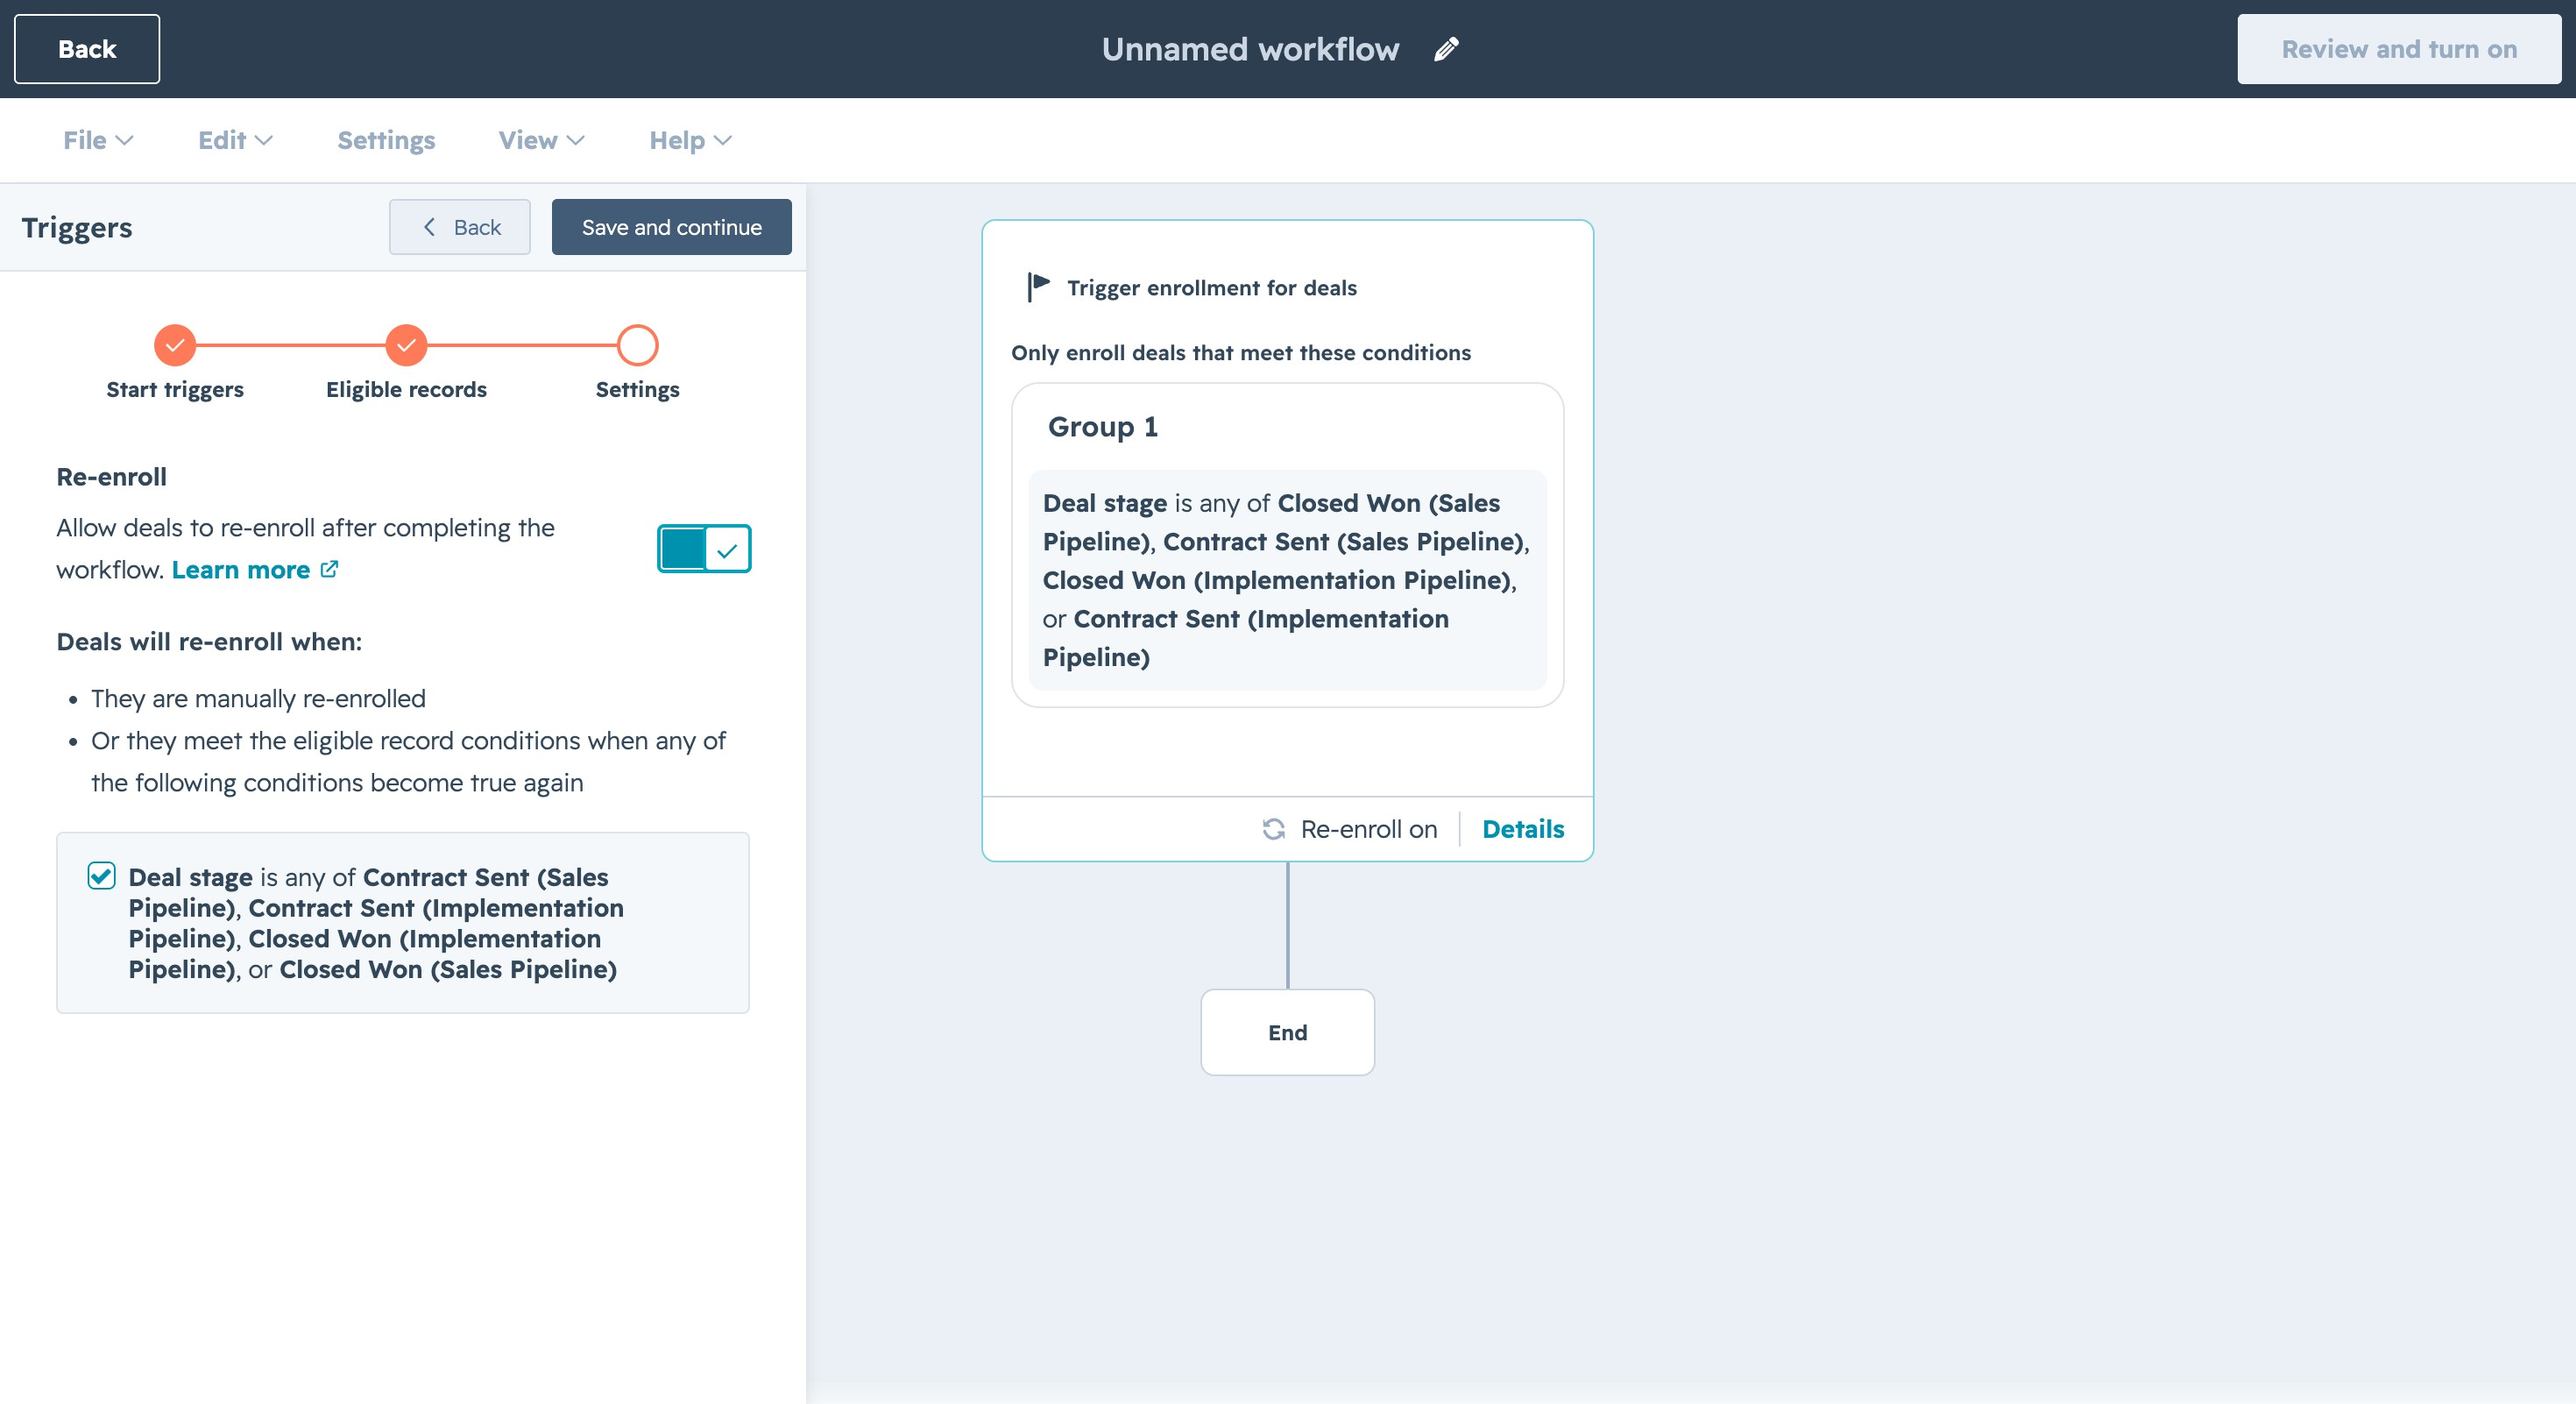
- Click Save and continue to open the workflow builder. Click the + icon to add a new action.
- In the action sidebar, go to Integrated Apps > Rocketlane and select Create Project.
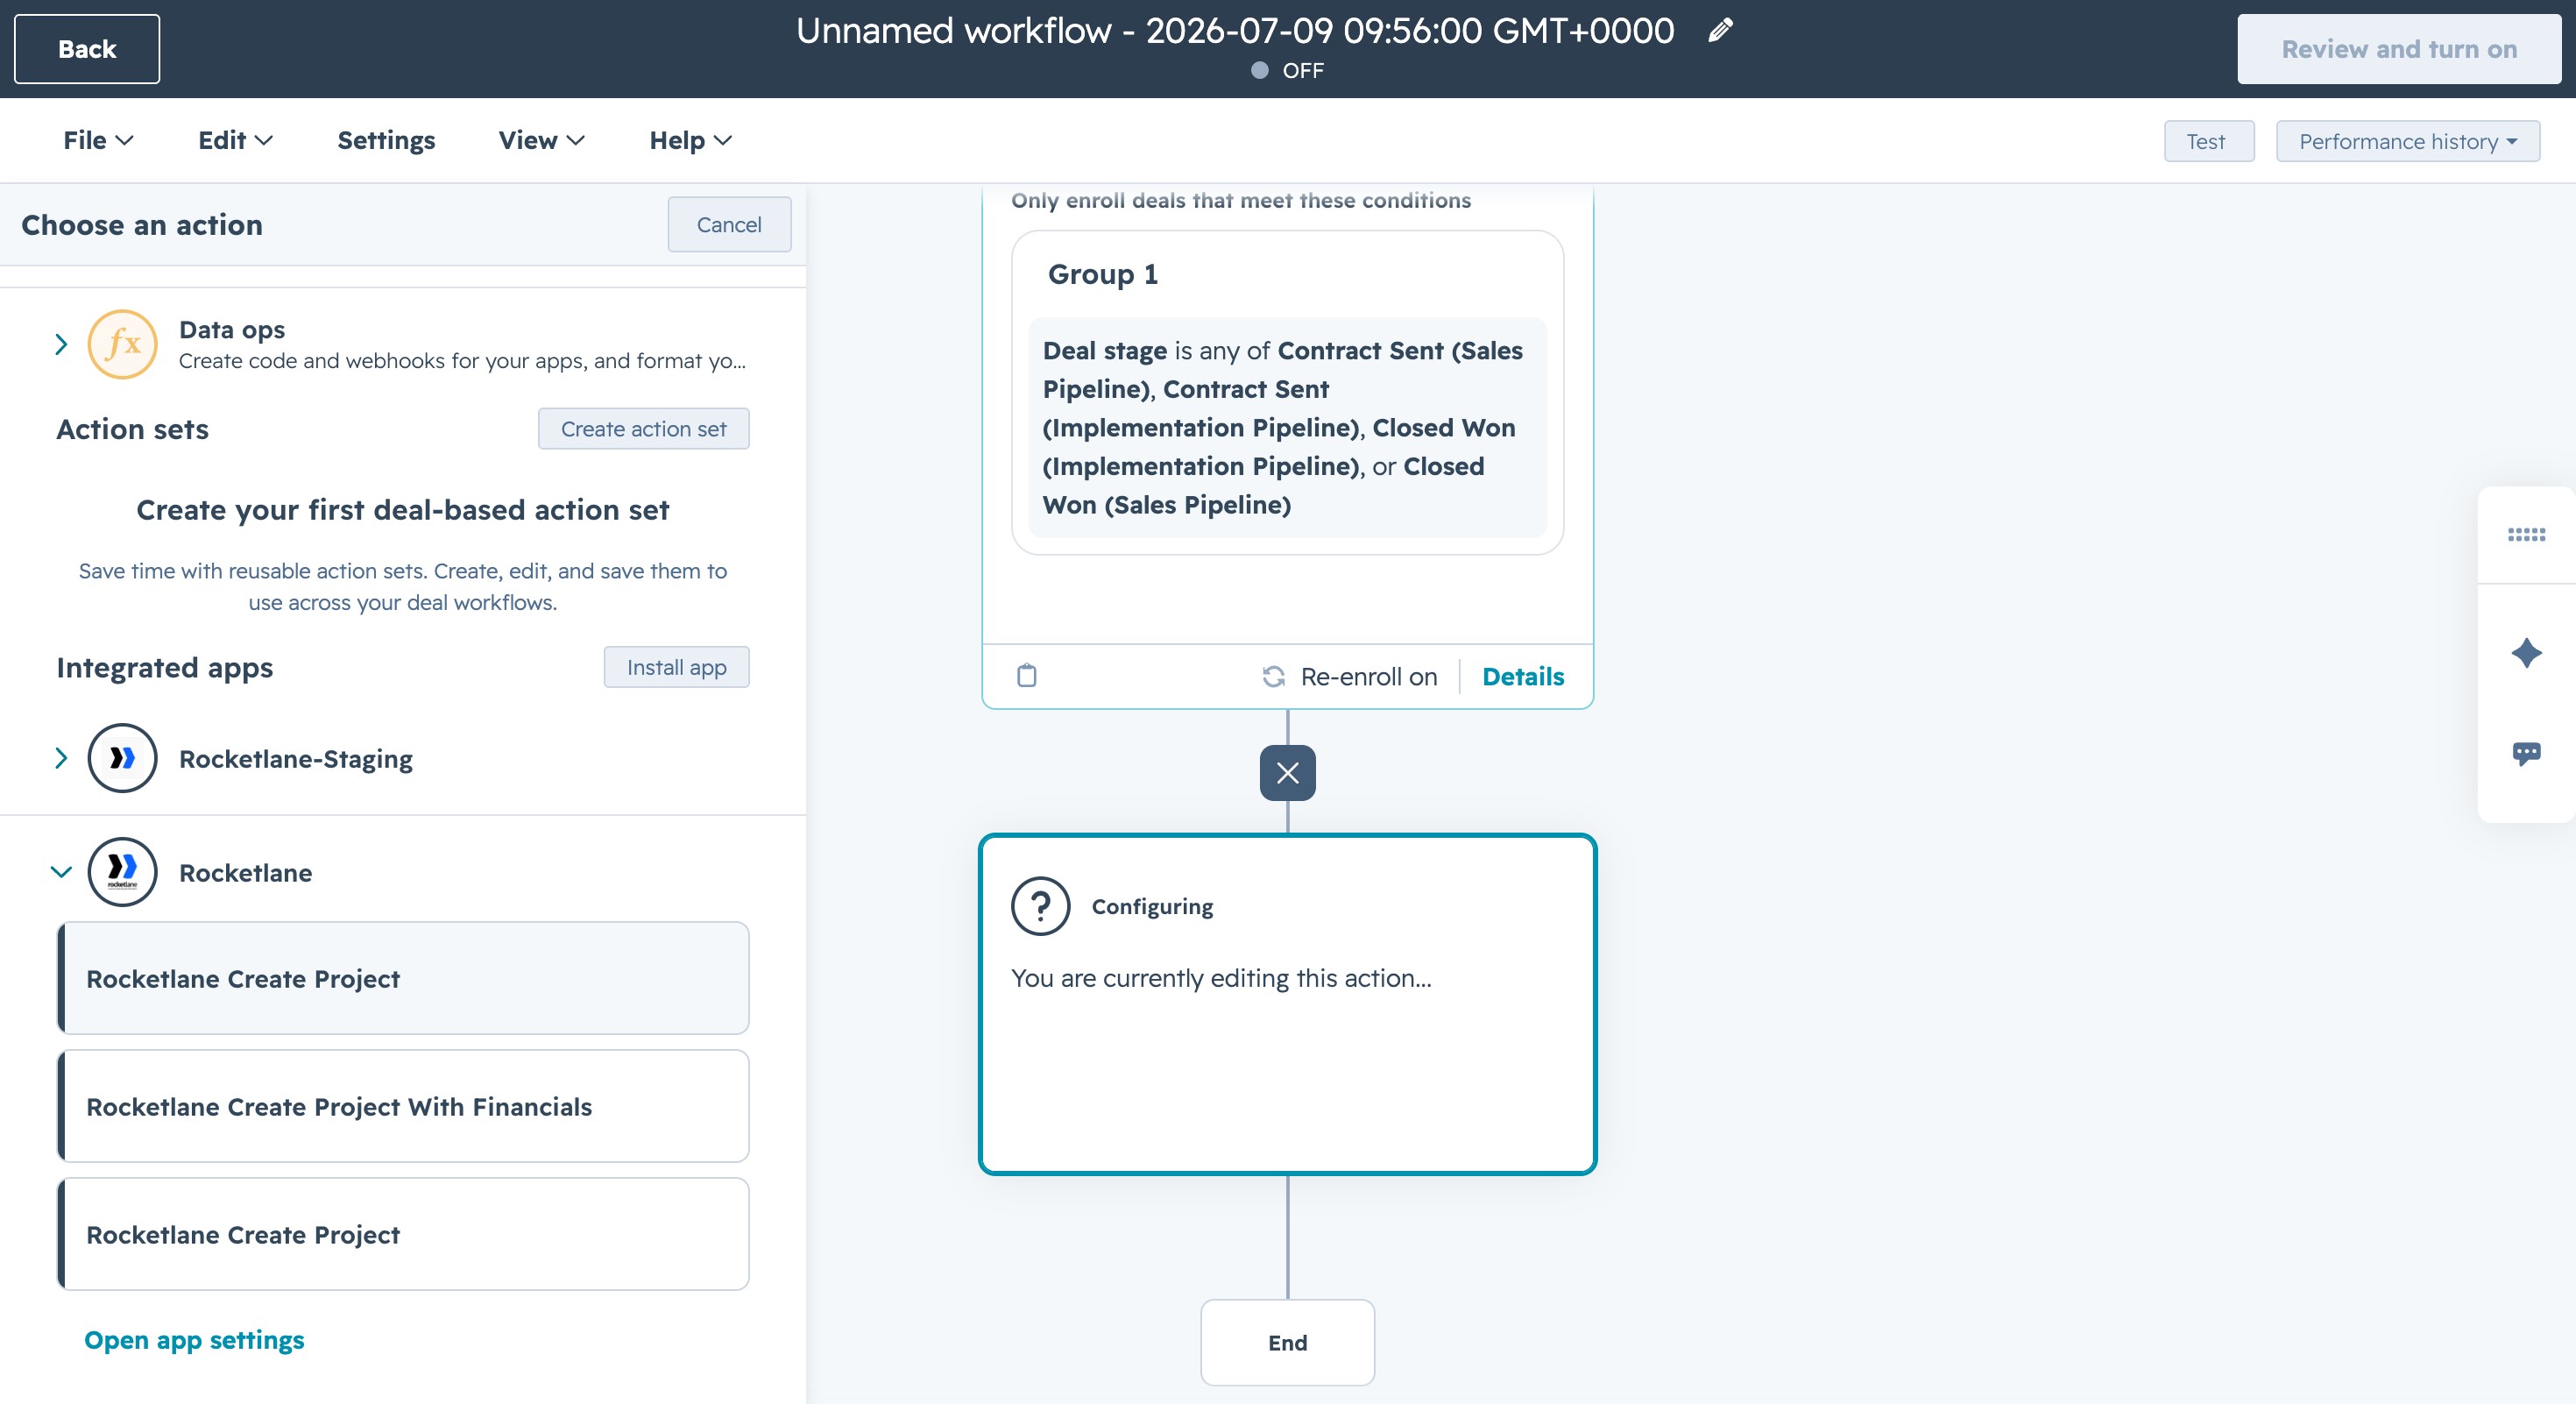
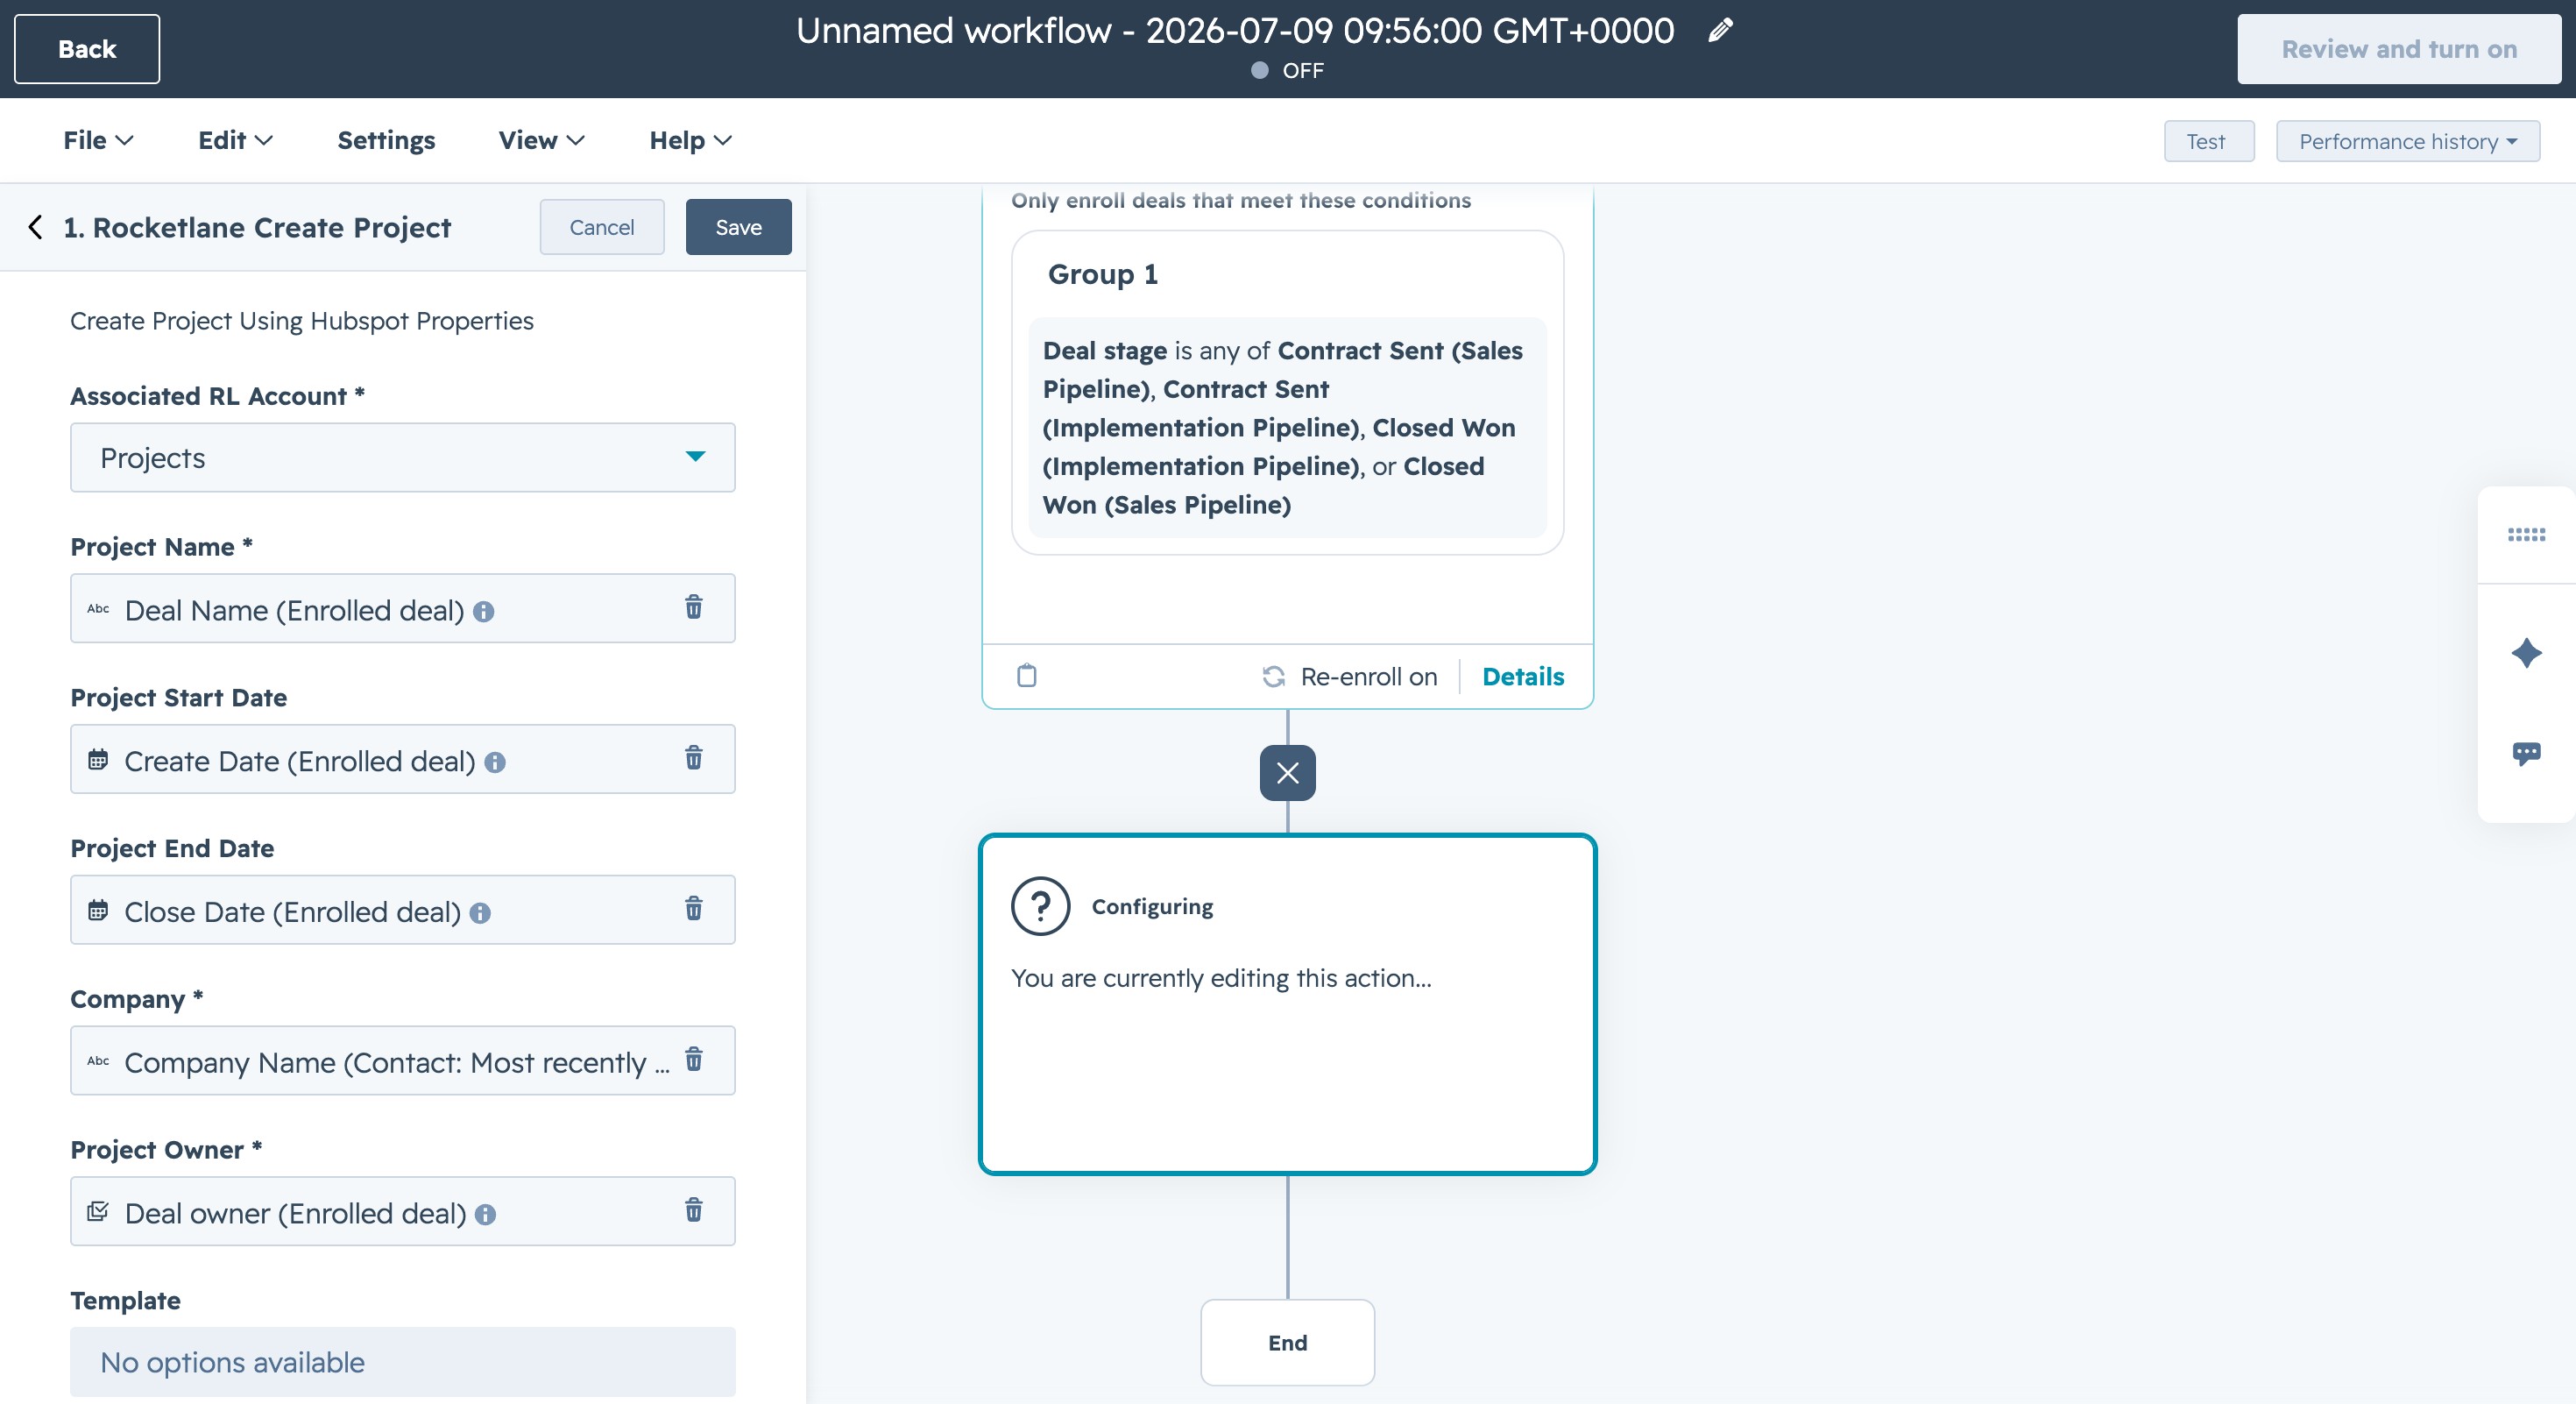
- Configure the Rocketlane action by mapping HubSpot properties to Rocketlane fields, then click Save. Click the + icon to add a new action.
- From the Choose an action dialog box, go to Rocketlane > Rocketlane Create Project.

- Fill in the Rocketlane project details using HubSpot properties, then click Save.

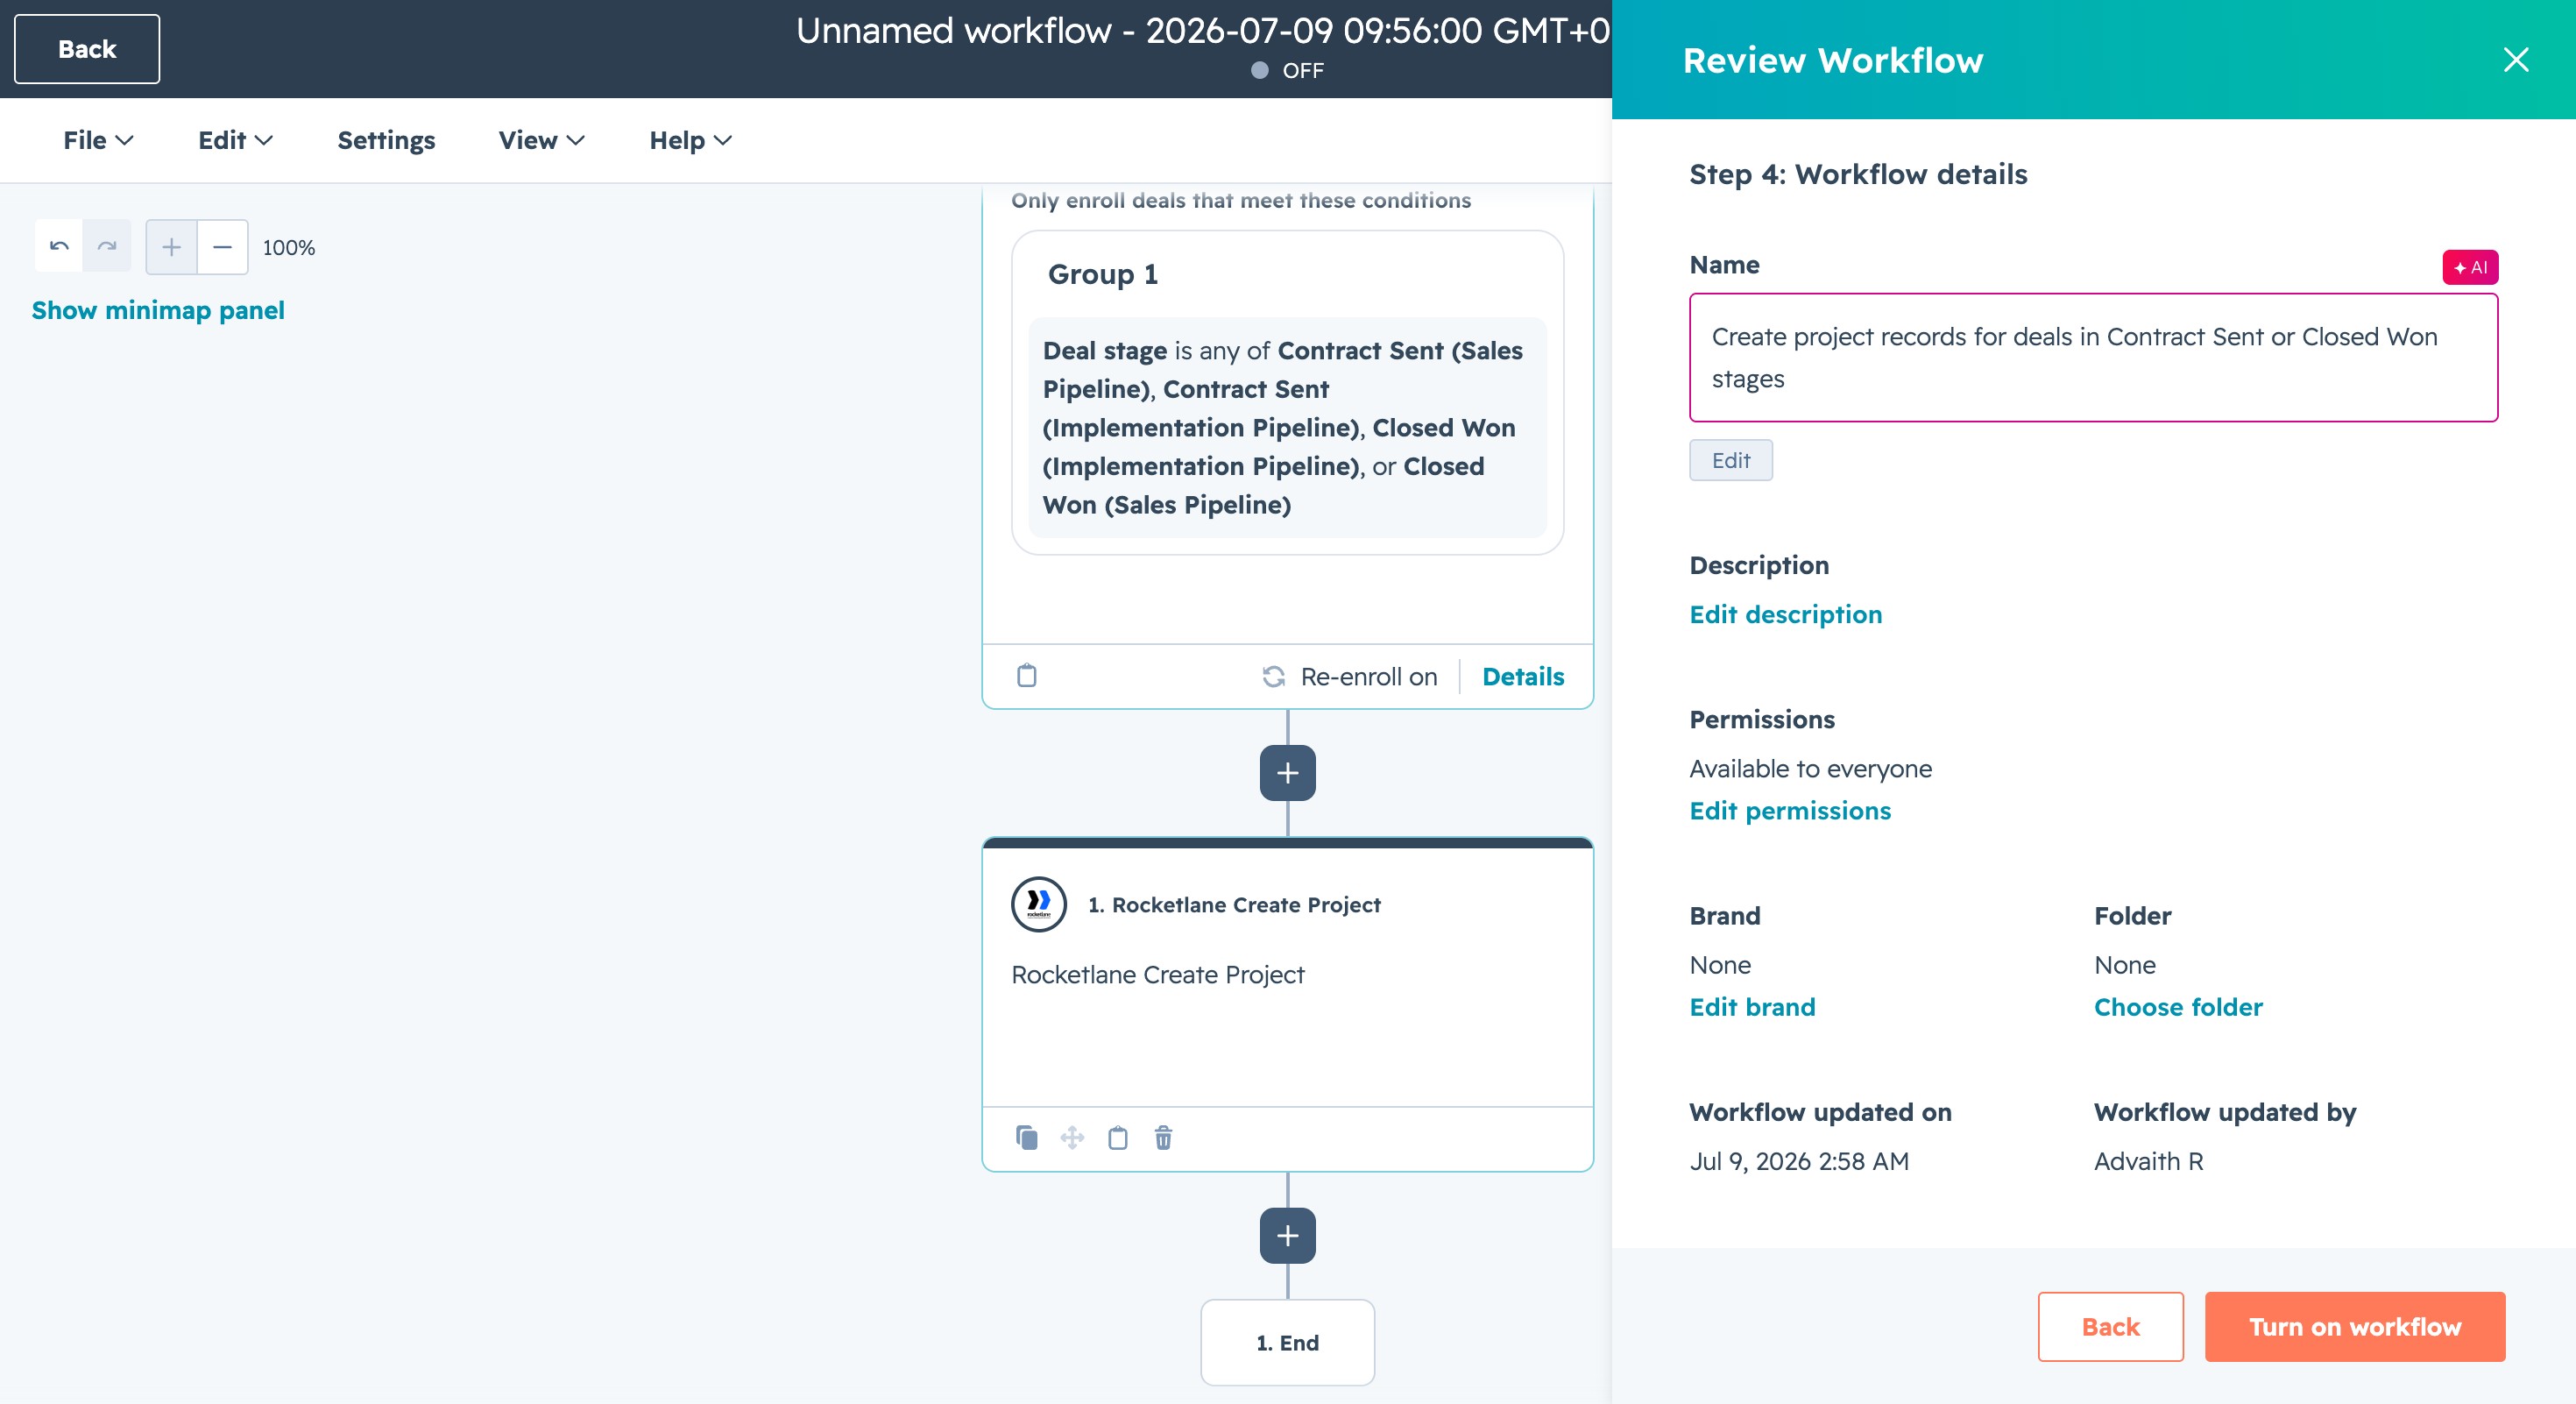
- Click Review and turn on from the top right of the screen to review your automation workflow.
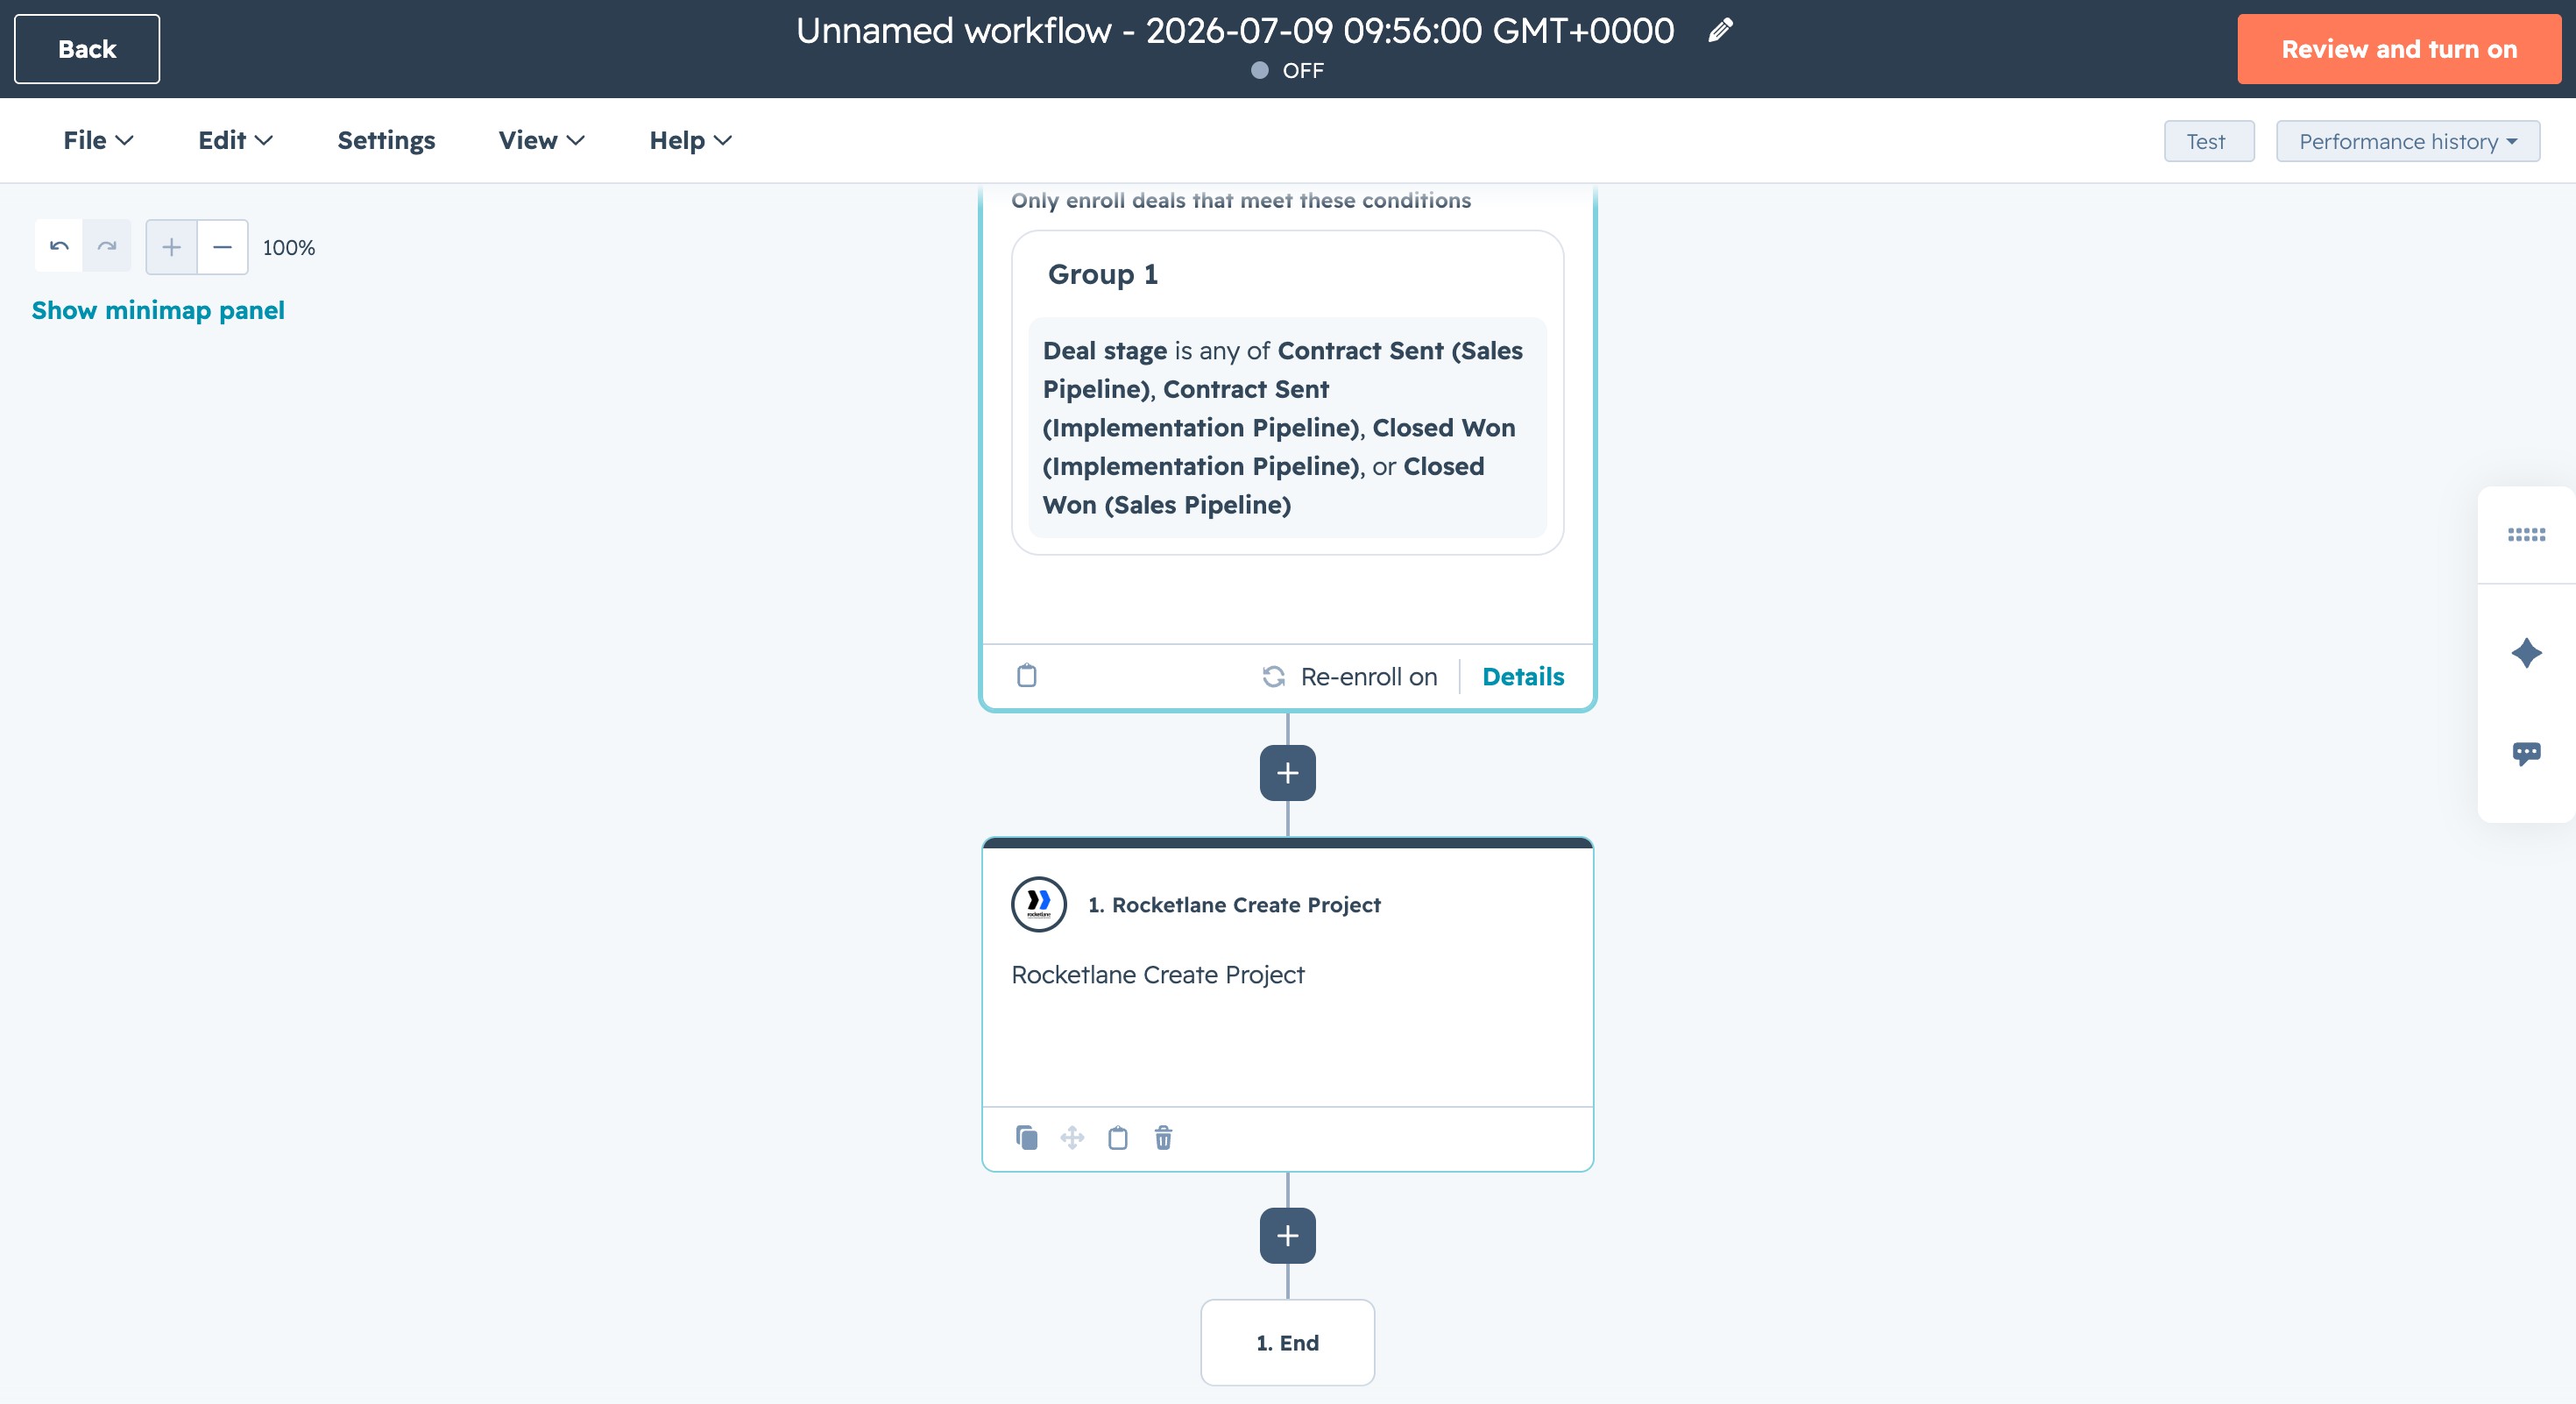
- In the Review Workflow panel, review enrollment, timing and performance, and connections. Enter a descriptive workflow name, then click Turn on workflow.
Field mapping reference
When configuring the Rocketlane Create Project action, map HubSpot properties to Rocketlane fields as follows:
Once your workflows are up and running, go to the Field sync page to set up how data syncs between HubSpot and Rocketlane.
Enabling fields sync between HubSpot and Rocketlane
Fields sync allows one-way and two-way flow of data between HubSpot and Rocketlane. In this section you can map fields between your Rocketlane project and HubSpot objects such as Deals.
- In Rocketlane, go to Settings from the sidebar. In the left navigation, scroll to Integrations and select the HubSpot card. Open the Fields sync tab and click Add a HubSpot object.

- Select the HubSpot objects that you have used in your automation workflows, then click OK.
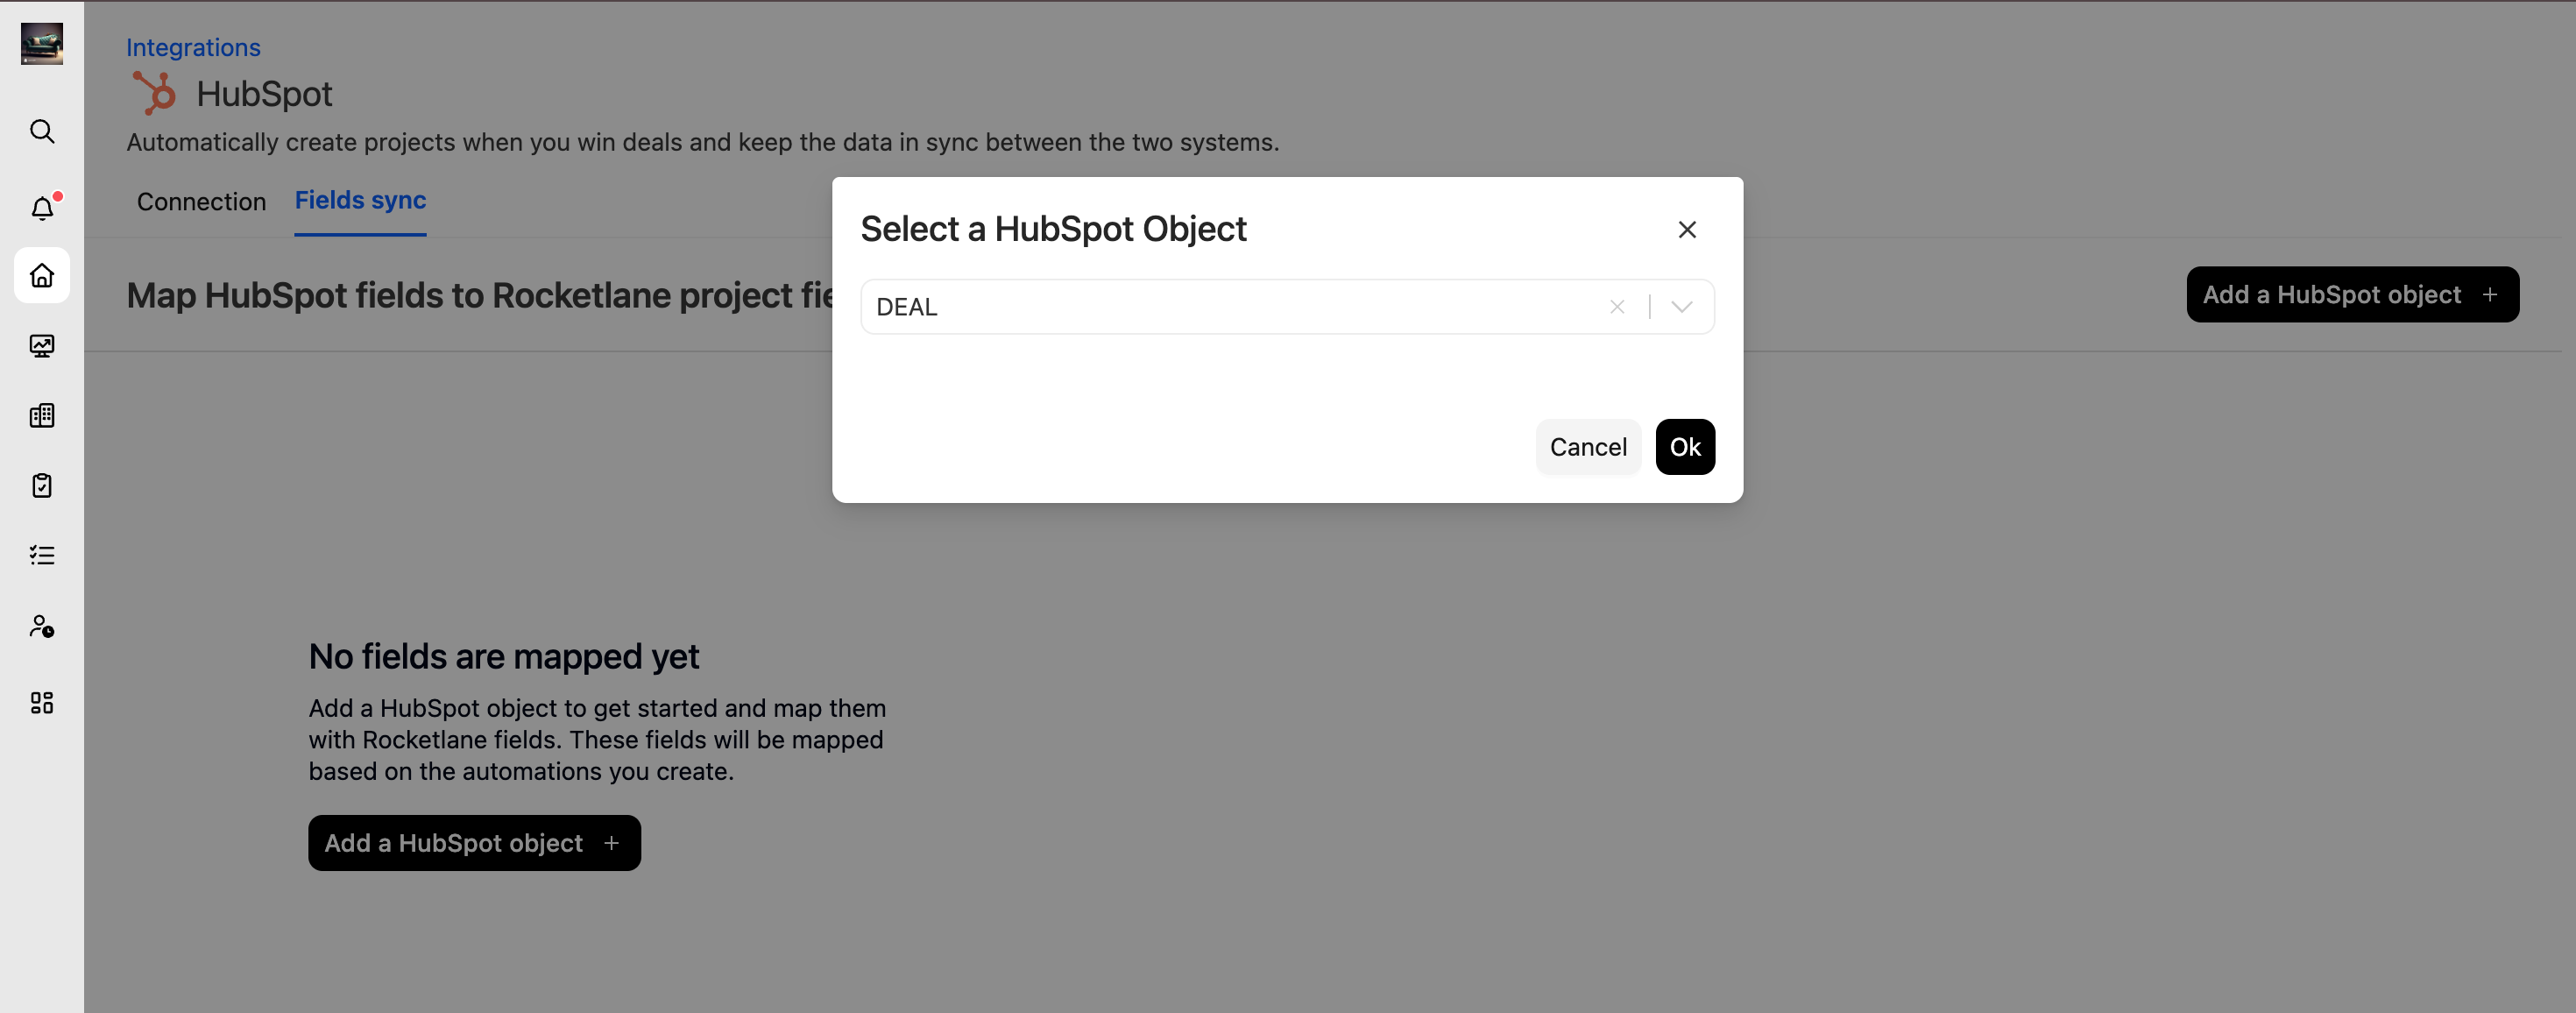
- Map HubSpot fields to Rocketlane project fields. Under the HubSpot column, choose the HubSpot object's fields and any referenced object fields.
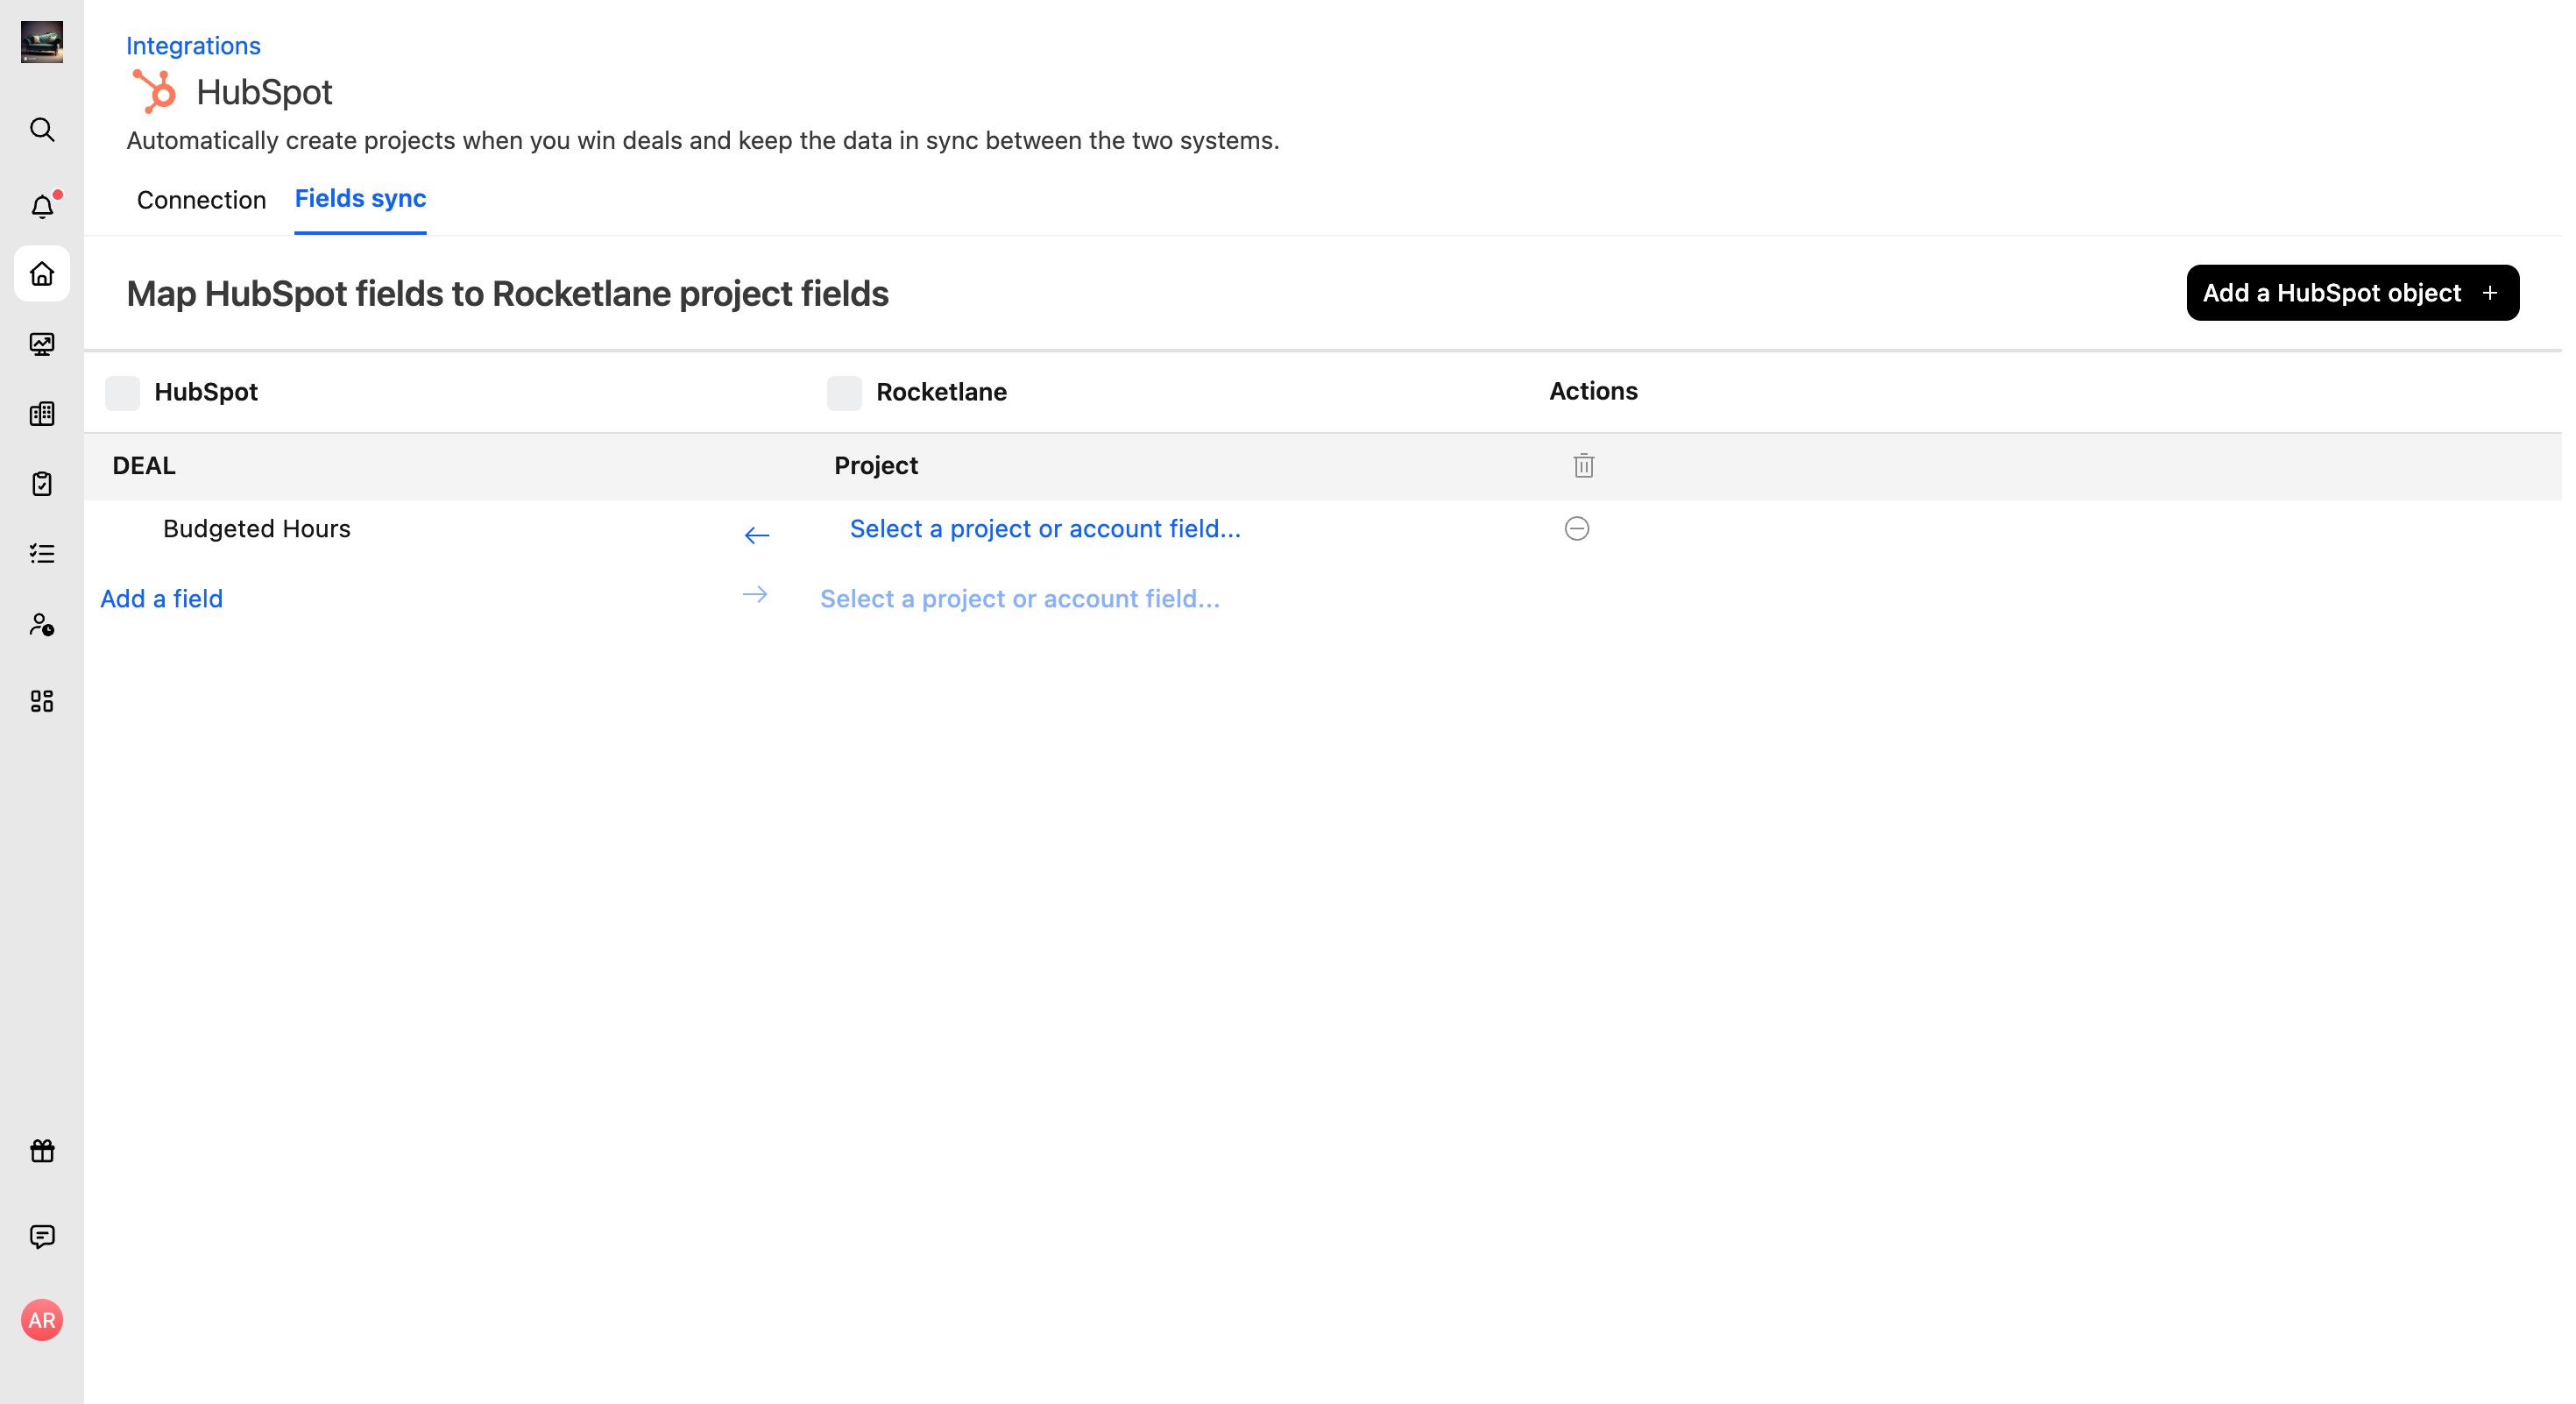
- Under the Rocketlane column, choose the project fields that correspond to the HubSpot fields.
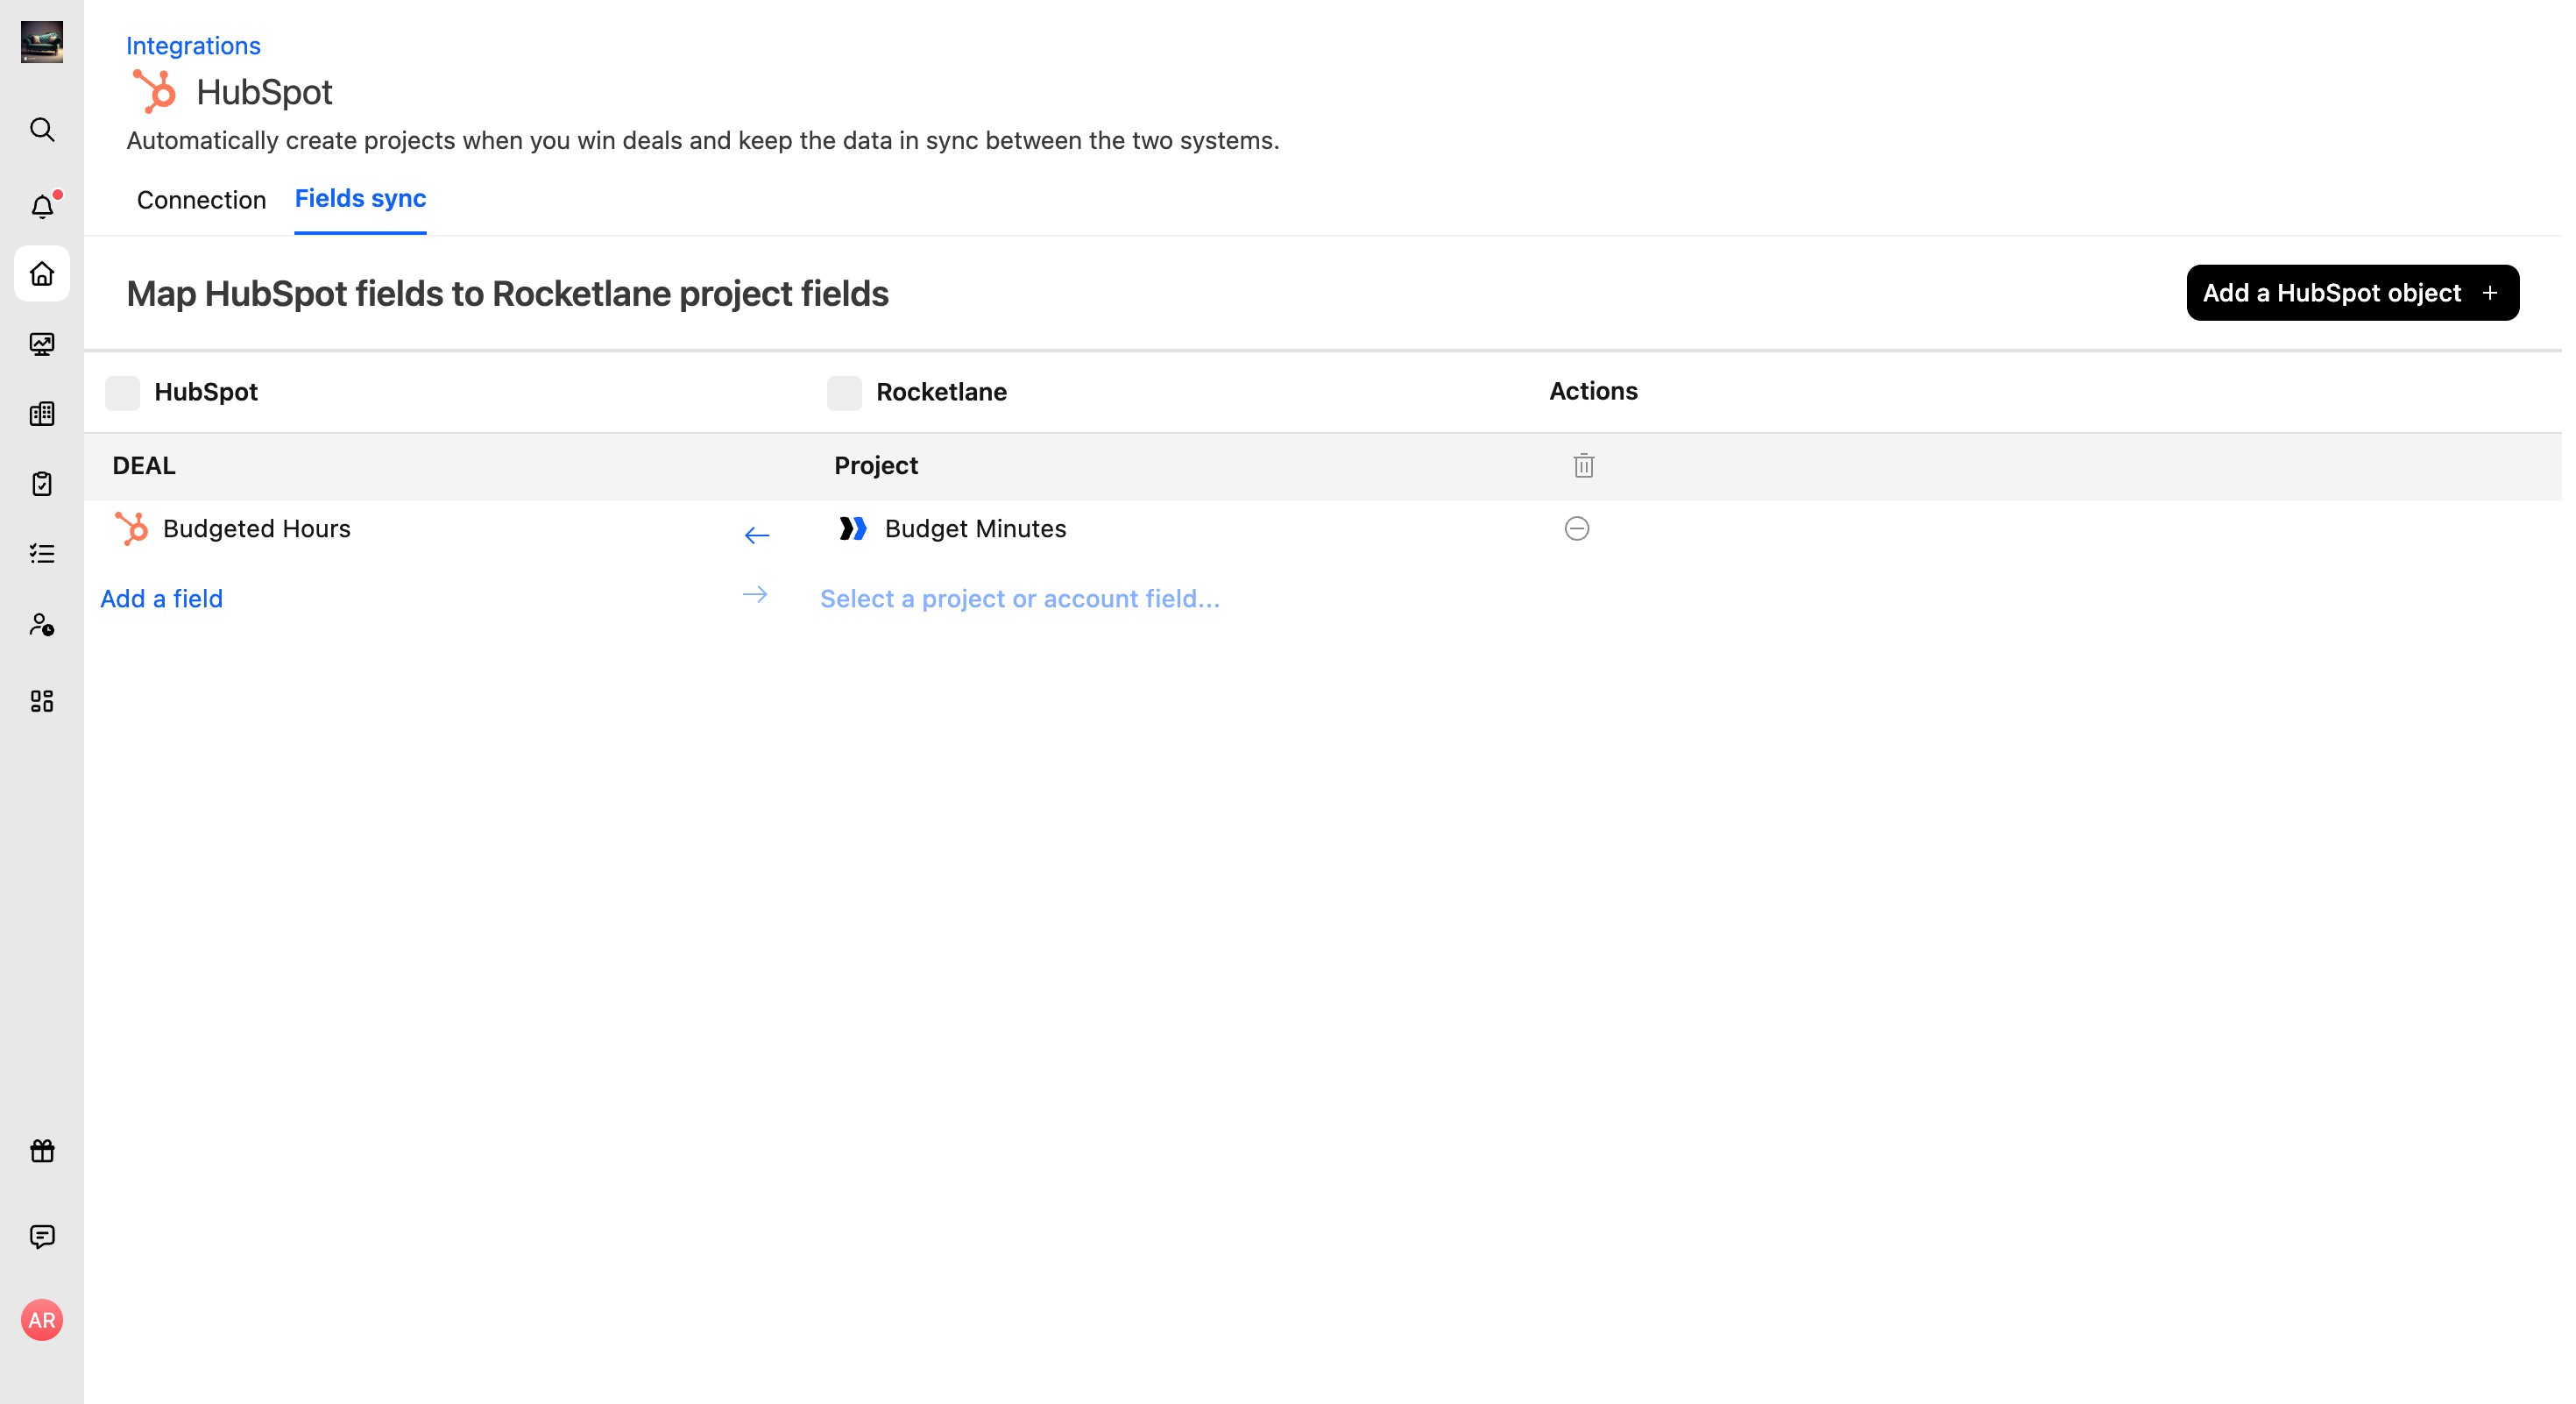
- Use the directional arrow button to set the direction of sync between HubSpot and Rocketlane fields.
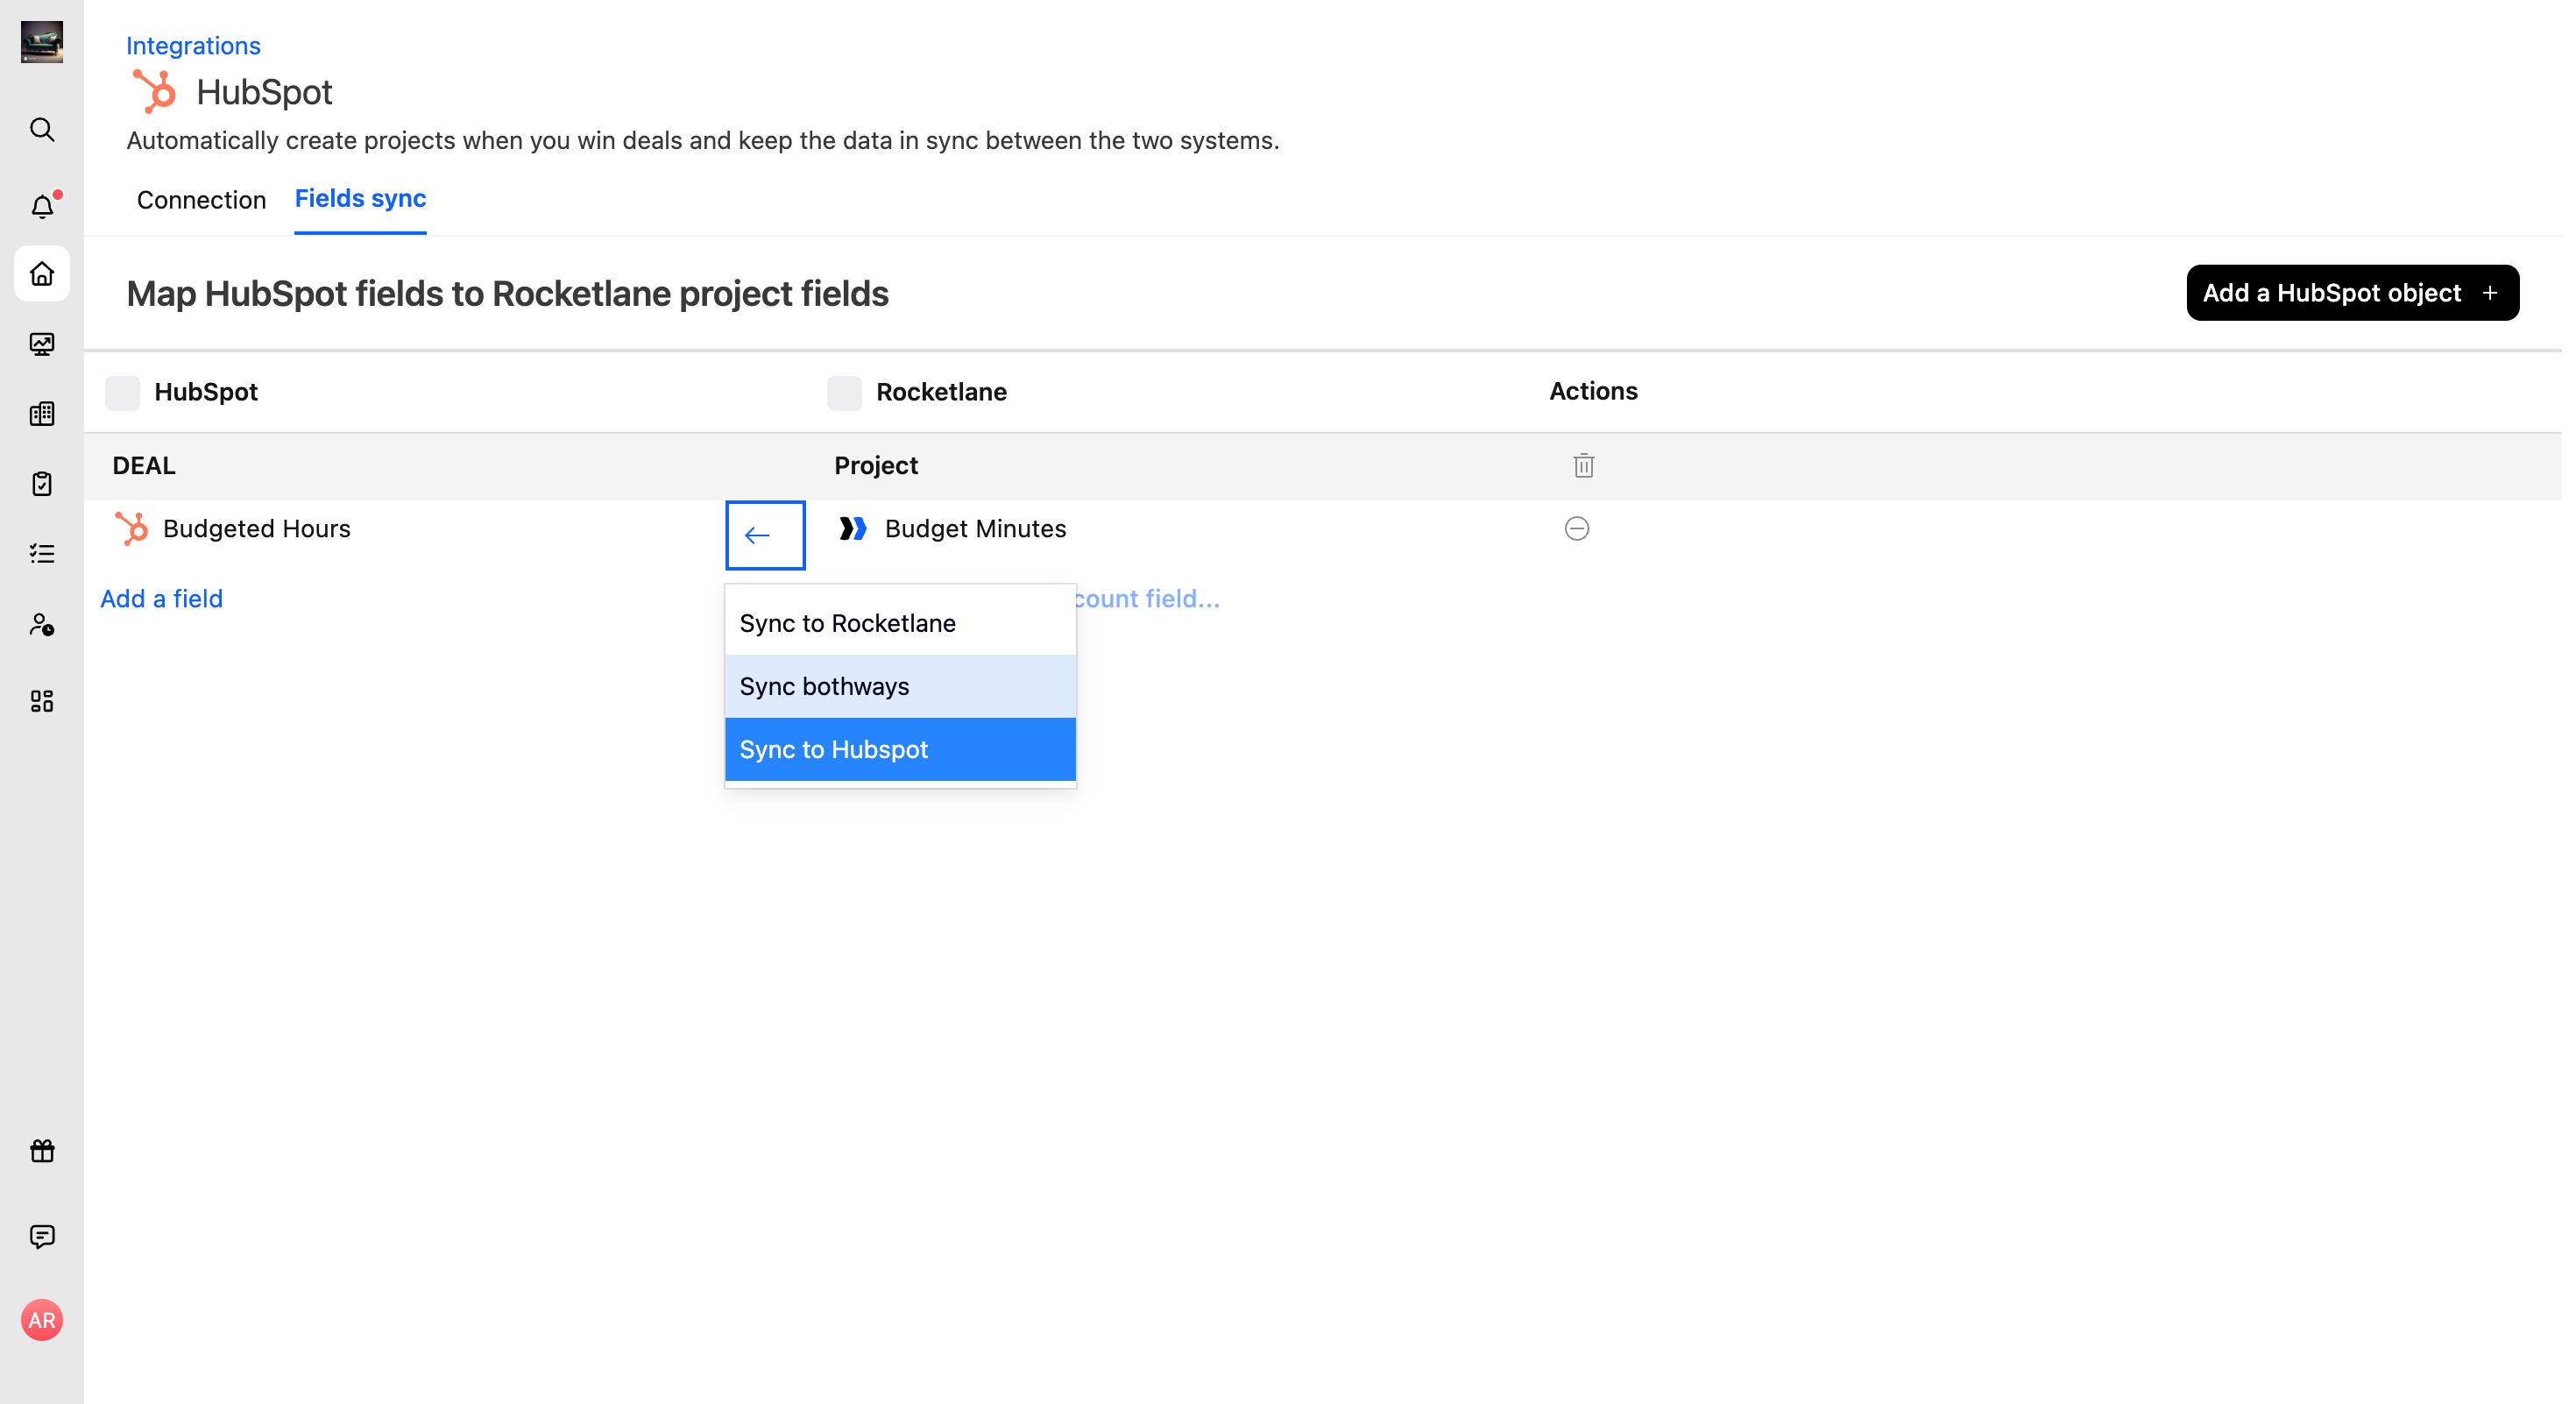
One-way and two-way sync compatibility
The following table lists compatibility and data flow directions between HubSpot and Rocketlane field types.